DIY Laptop Water Cooling – Part 1/?
YouTube video transcription
[Original source] Partially based on the script of one of my YouTube videos: https://www.youtube.com/watch?v=nxZ8u6RPPeU
[Updated] Contains updated data from 2022.
This guide is compatible with the the following laptops.
[Laptop] XMG Apex 15 Max (2022) with B550 chipset & XMG Apex 15 (2020) with B450 chipset
[Barebone] Clevo NH50VR / NH55VR / NH57VR / NH58VR (B550) & Clevo NH50AF1 / NH55AF1 / NH57AF1 / NH58AF1 (B450)
[Similar laptops] One K56-AR, Eluktronics Thicc-15, Eurocom Nightsky ARX15
[CPU] Zen3 & Zen2 Ryzen Desktop CPUs
[Note] This guide is applicable for allmost all laptops. Of course it will require you to change some critical aspects, especially about re-using the existing waterpipe and positioning it on your individual heatsink. Building your own waterpipe solution is highly recommended.
I know how hard that sounds, this is a do-it-yourself project and requires some skills and includes risks, if you want to replicate it.
There has been a handful of water cooled laptops every now and then. For example the Asus GX700 from 2015 with it’s massive docking station, which integrated the water cooling loop.
And there are also newer, more modern solutions with an external, portable water cooling device, as seen with the XMG Neo and Core laptops from 2022.
Using water cooling they managed to drop the temperatures by up to 20°C compared to traditional air cooling.
On top of that, the fans run also quieter – AND – the performance rises a little, because the temperatures are further away from their thermal throttling thresholds.


Those improvements sound sooo good that you can easily think of a ton of laptops, which could really use water cooling.
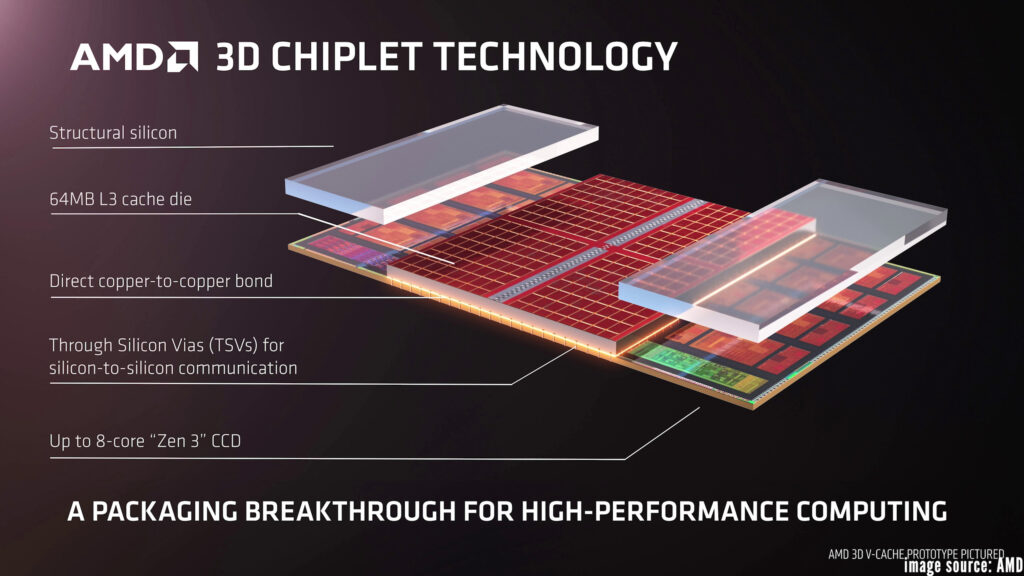
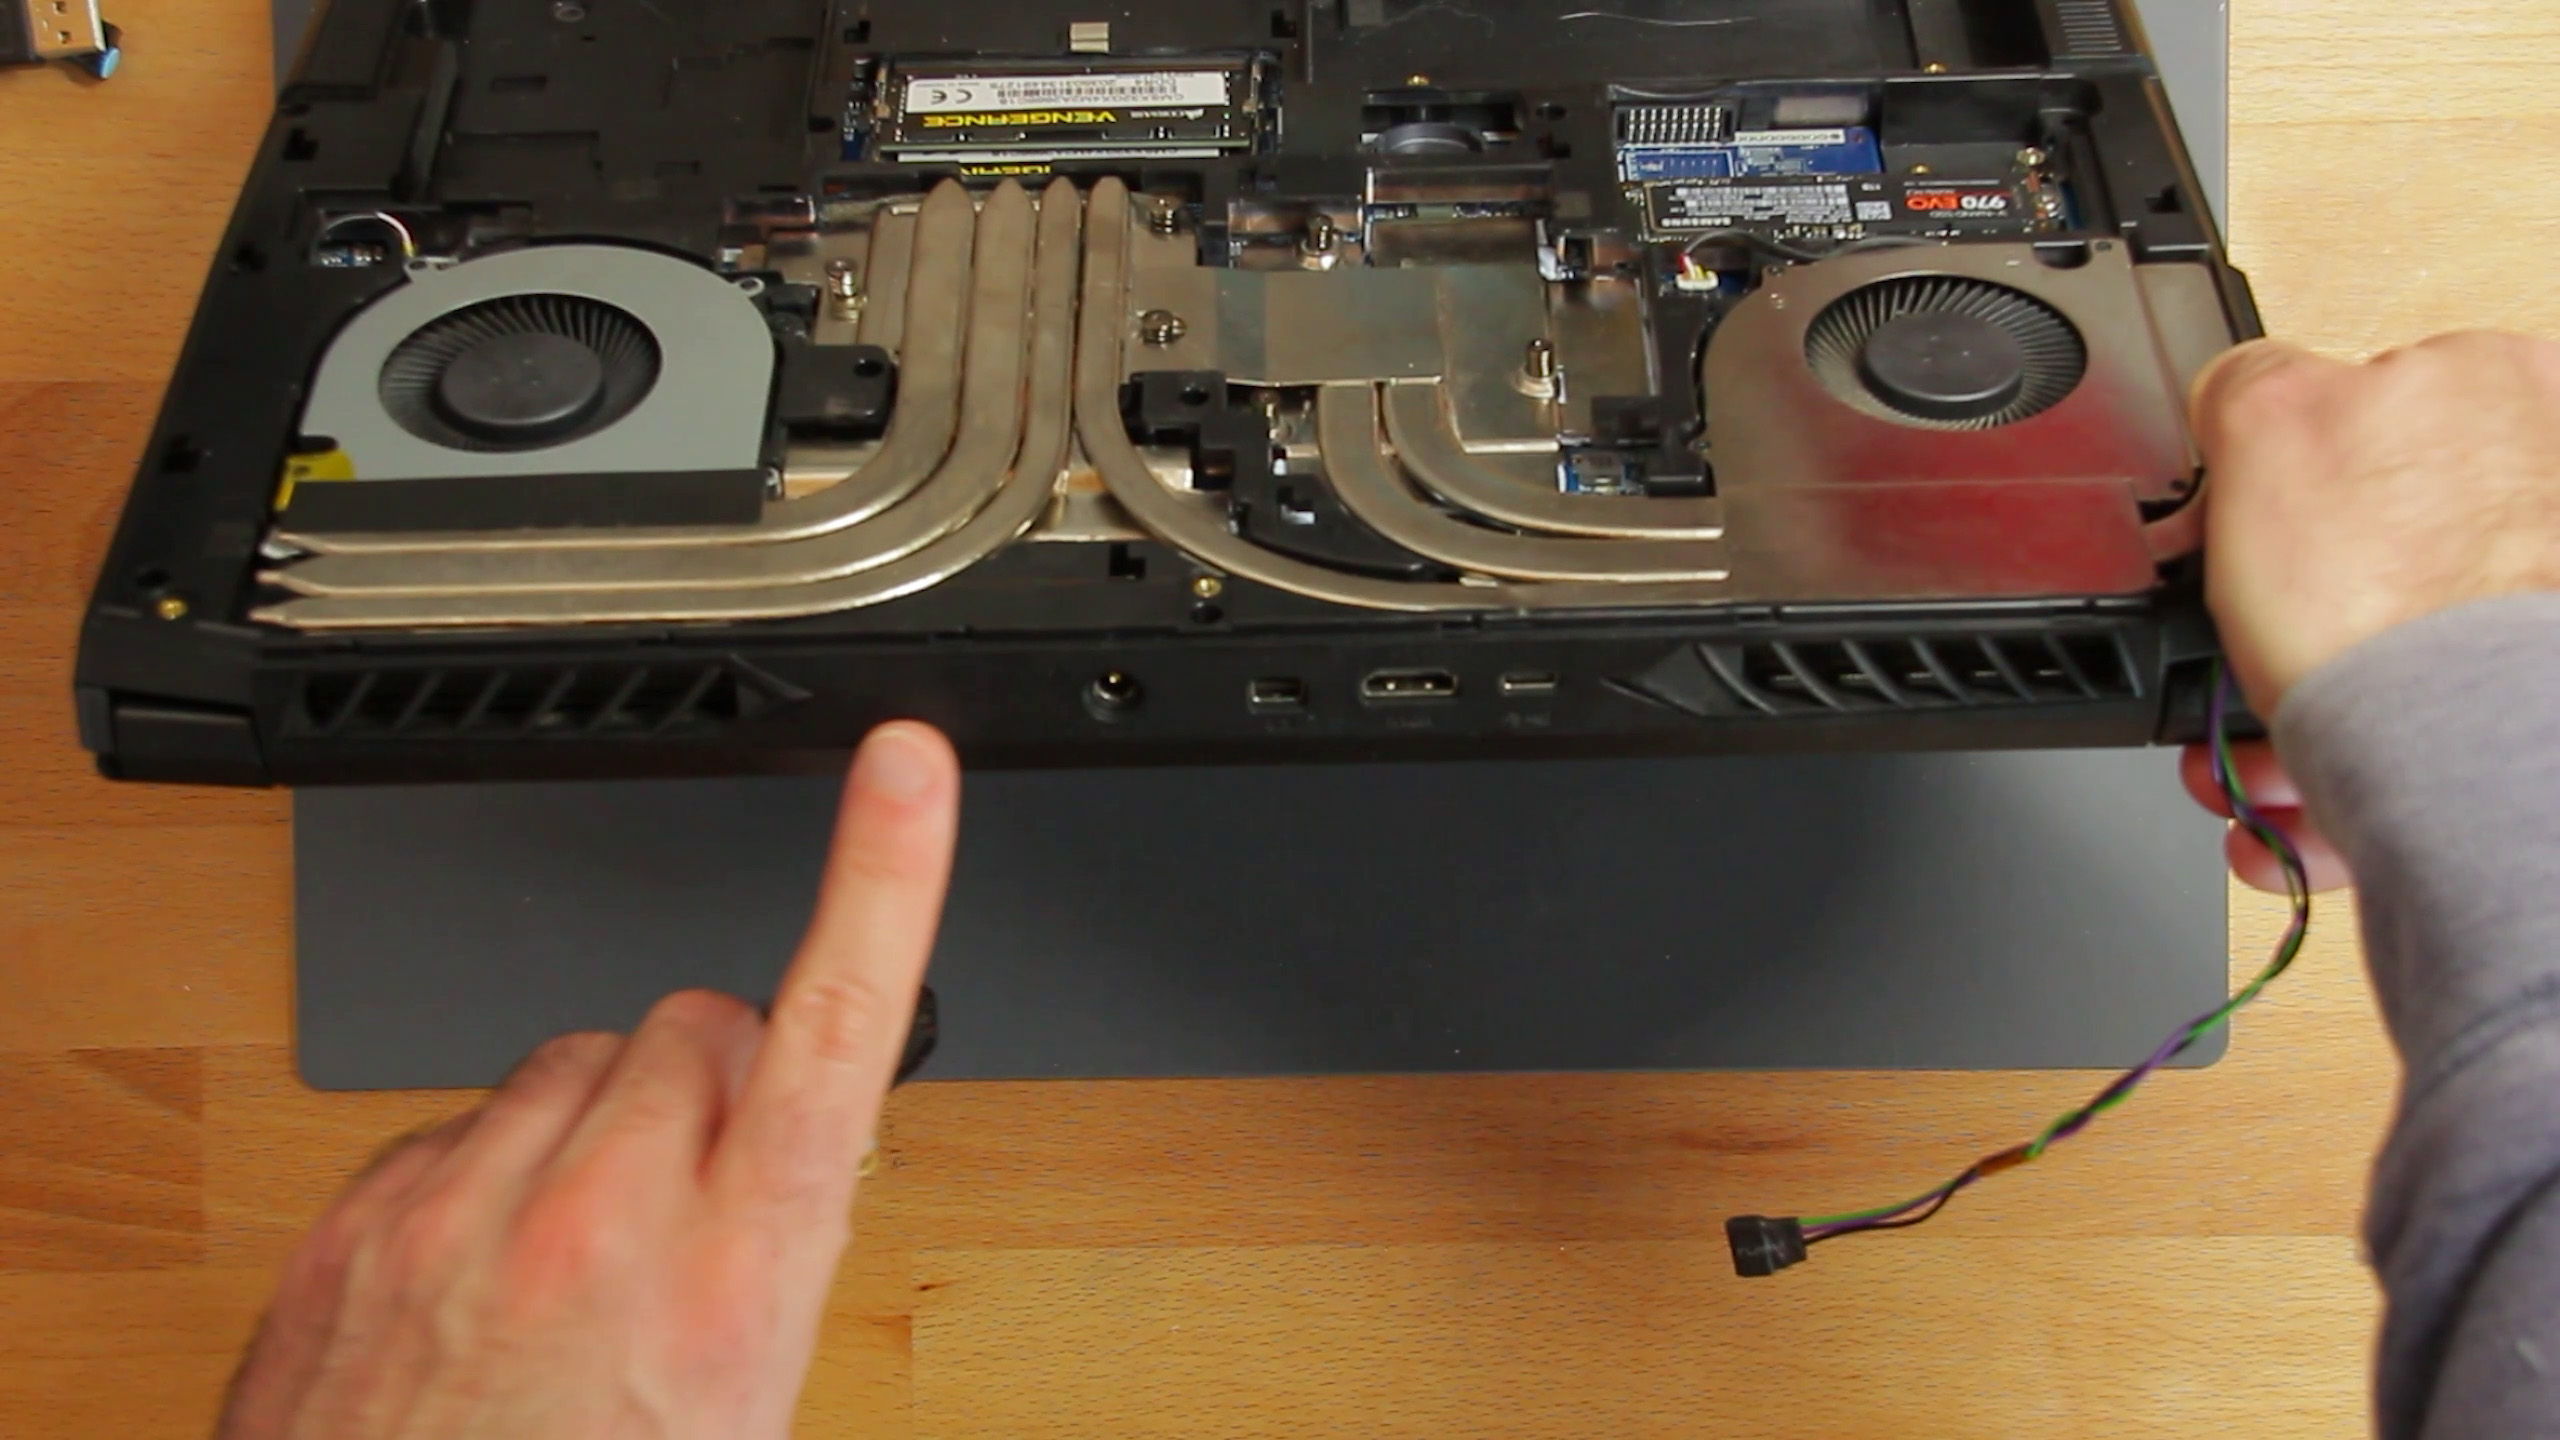
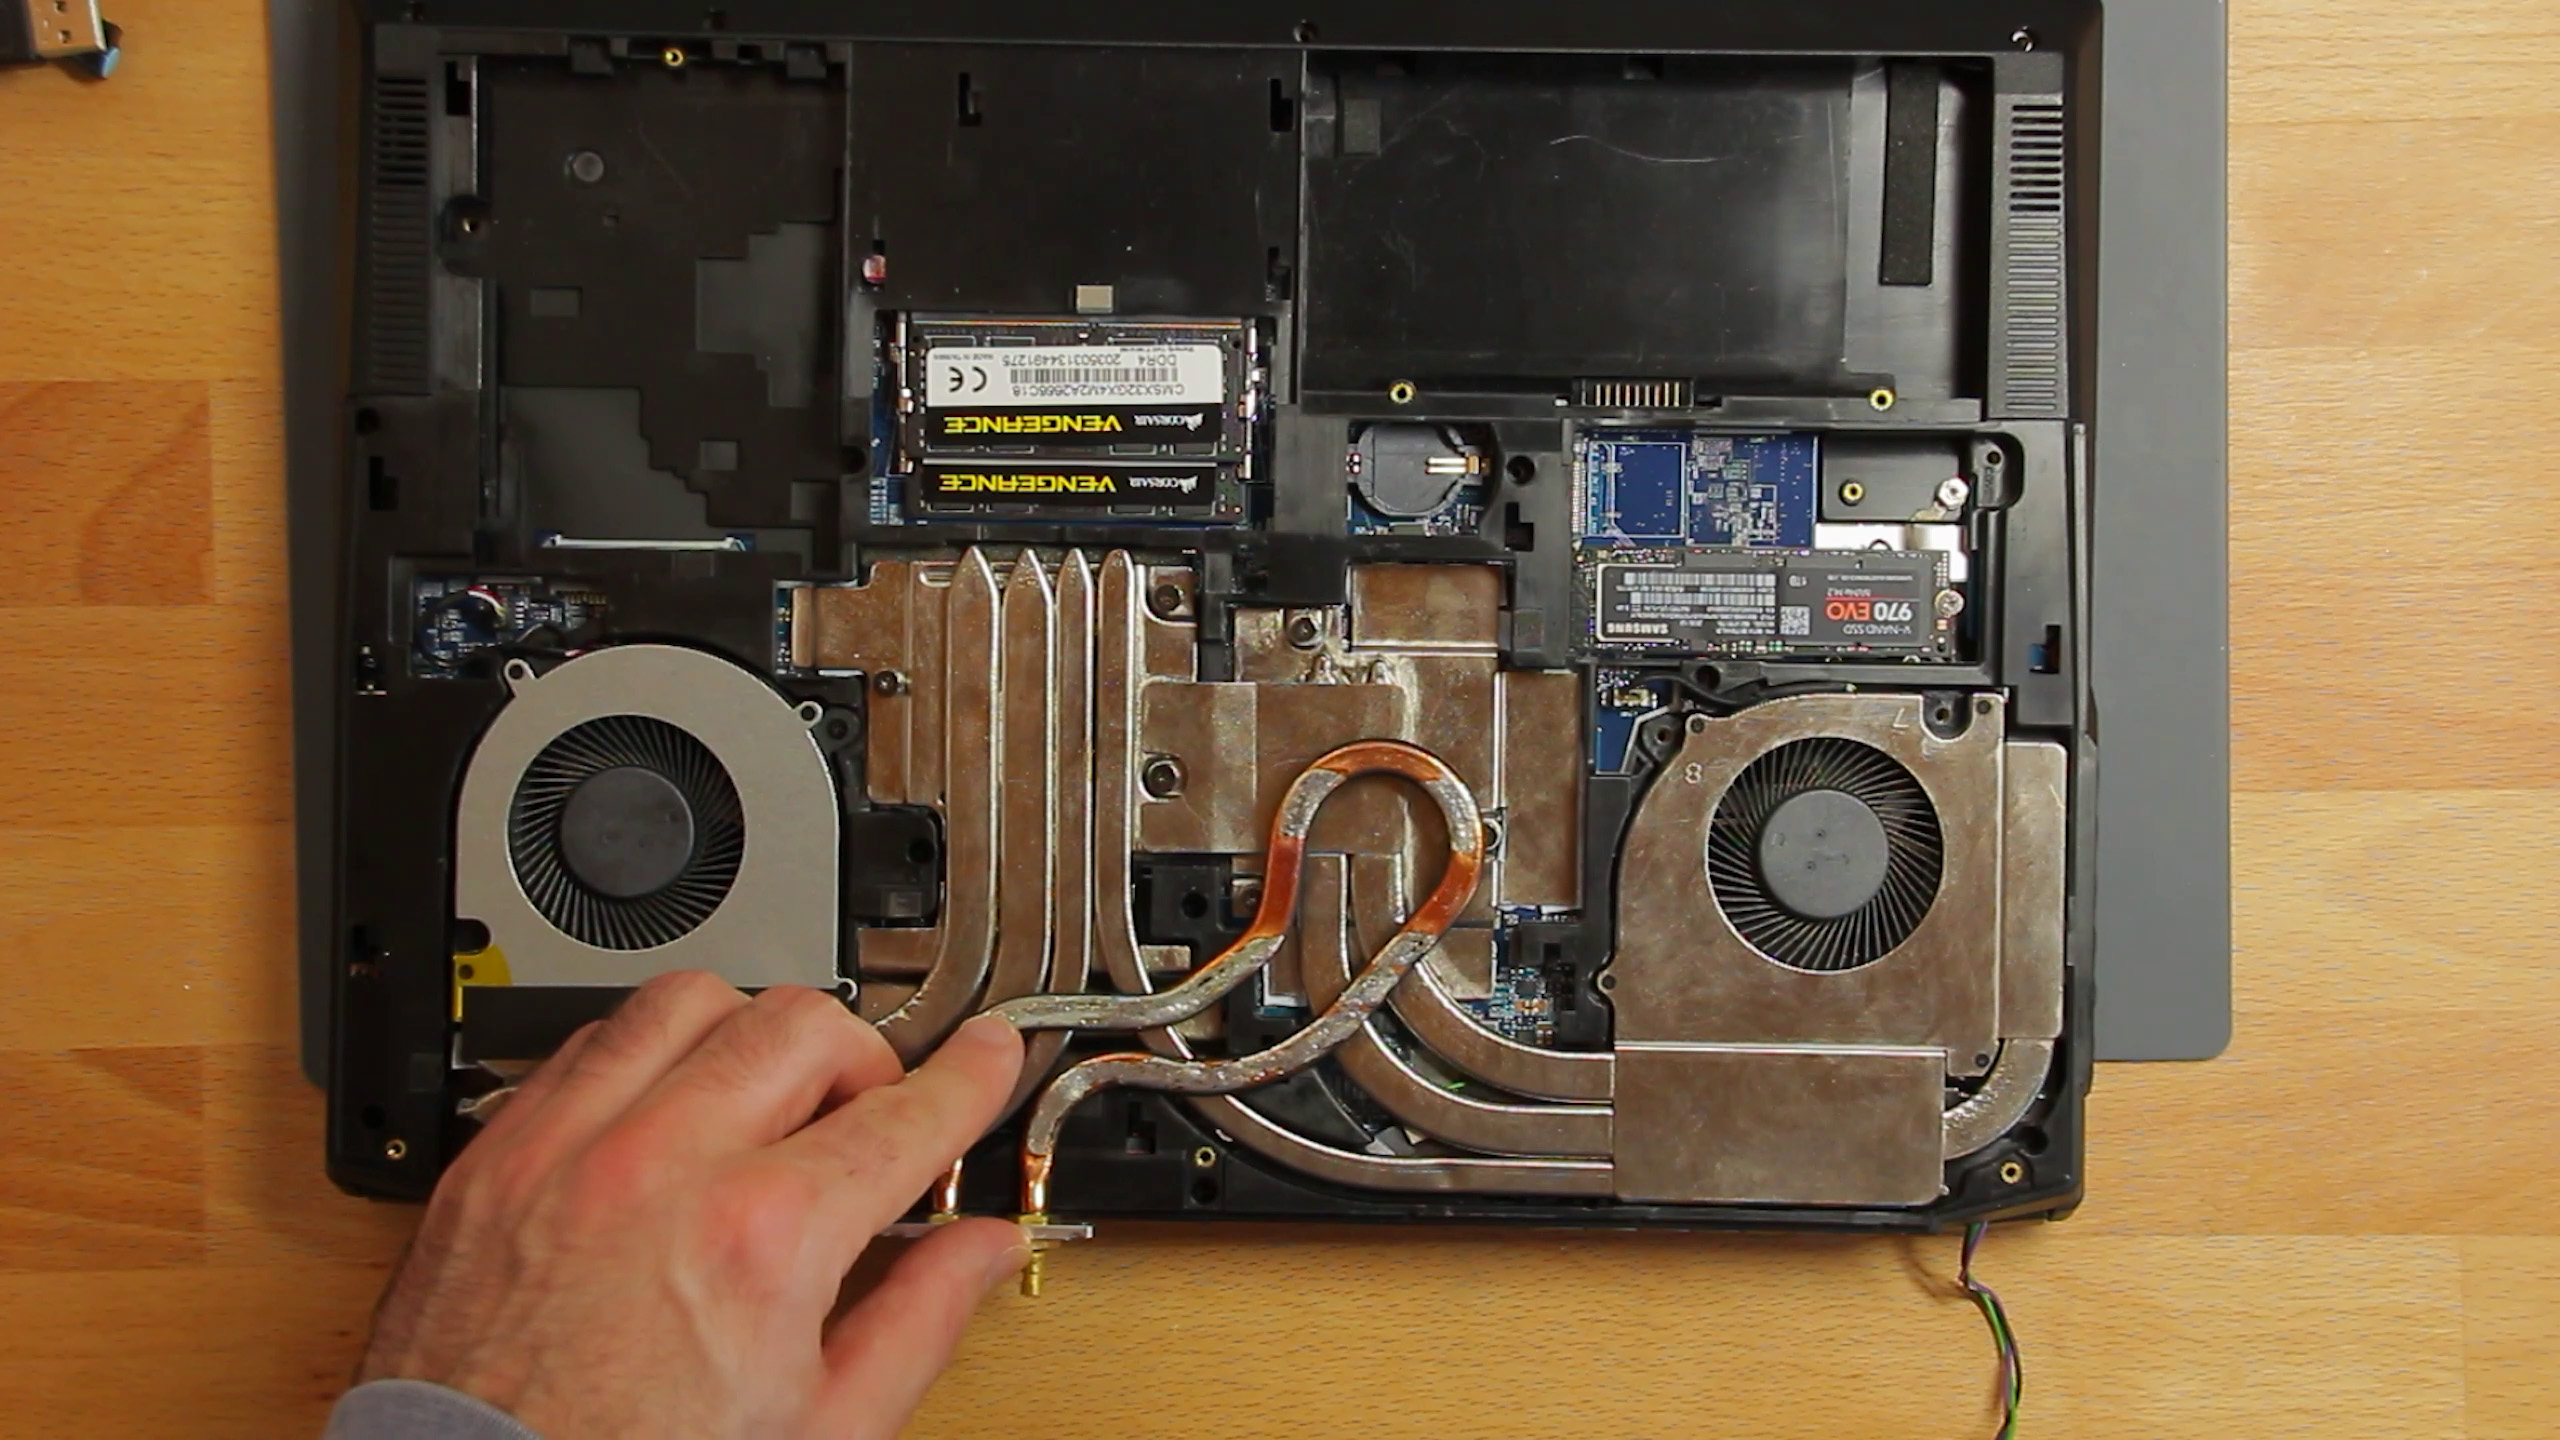
Like in my example. I got an XMG APEX MAX. A laptop with an AMD Zen3 desktop CPU inside, which runs on comfortable temperatures using a 6-core 5600X, but can suffer from thermal throttling with a 16-core 5950X for example. Oh and I bet you have heard from the hottest Zen3 CPU out there, the 5800X3D? Because of it’s stacked V-Cache and extra silicon on top of the cores it runs so hot, that even on well cooled desktop systems it can reach it’s thermal limit of 90°C.
And besides the high temperatures, the fans do run quite loud in this laptop, too.

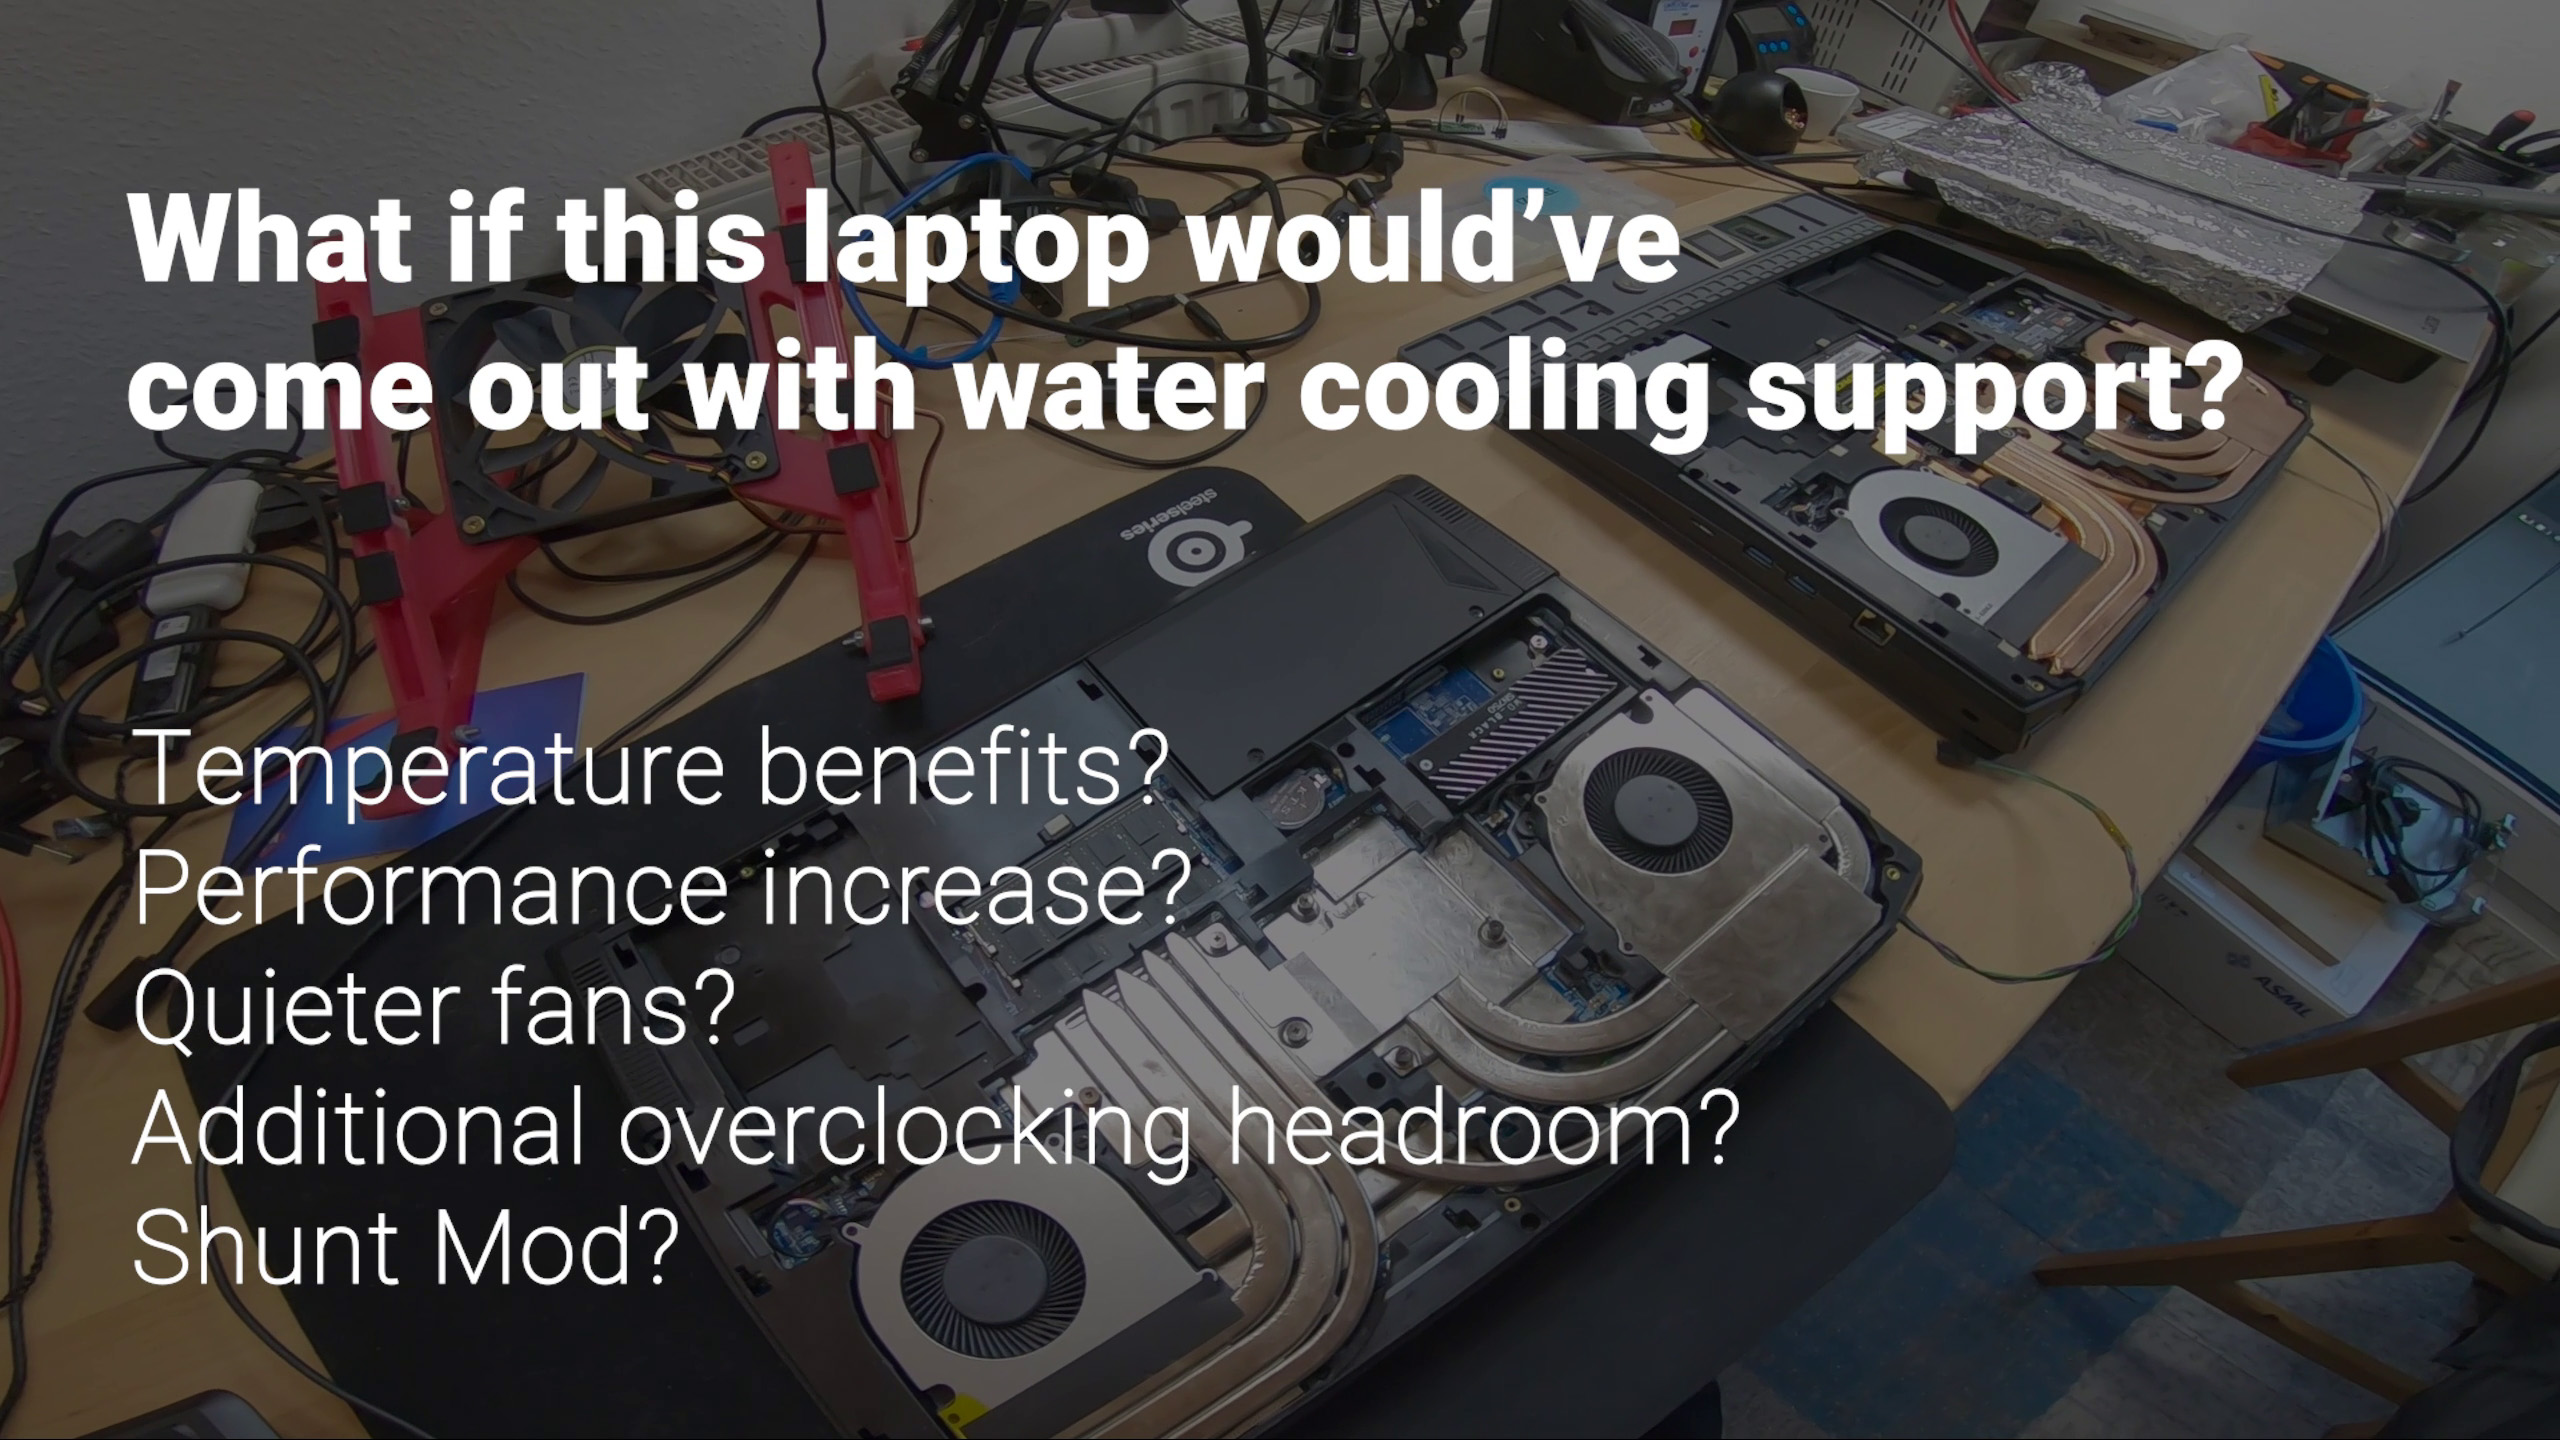
So what if this laptop would’ve come out with XMG Oasis water cooling support. Would we see a 20°C temperature drop, too? By how much the performance would be improved? Would the fans be quieter? And how far could we push the system using overclocking and a shunt mod?
Let’s find out in my new project: DIY laptop watercooling!
Since this is the first of multiple blog posts and videos, let’s start easy – AND – maybe also a little boring. But don’t worry, we will jump right into more action in the next blog post and video.
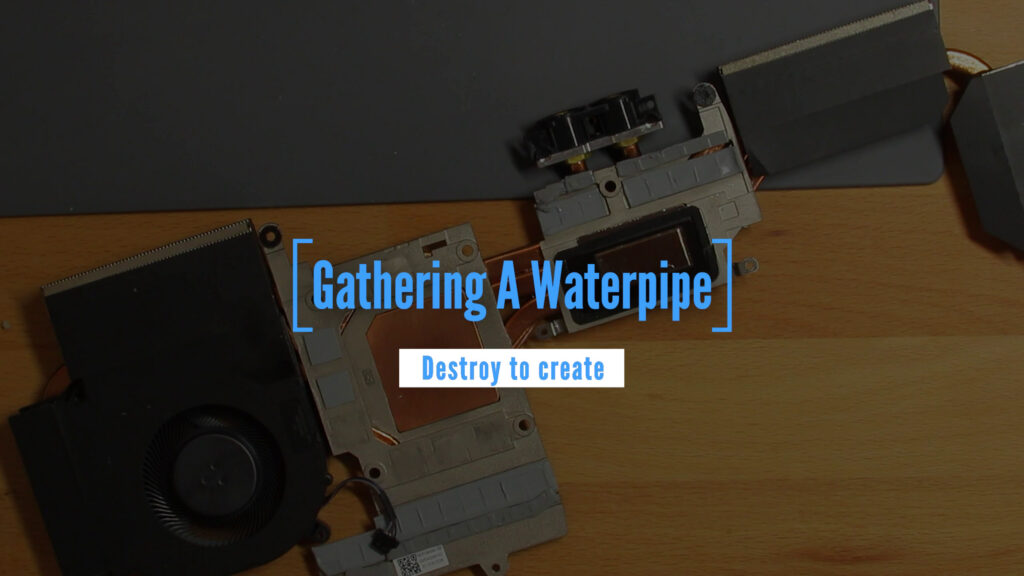
Gathering A Waterpipe
To build my own water cooling solution for this laptop I will obviously need to mod the heatsink and solder on some kind of waterpipe the water can flow trough.
So I thought before we try anything custom build, let’s make use of an existing system first.
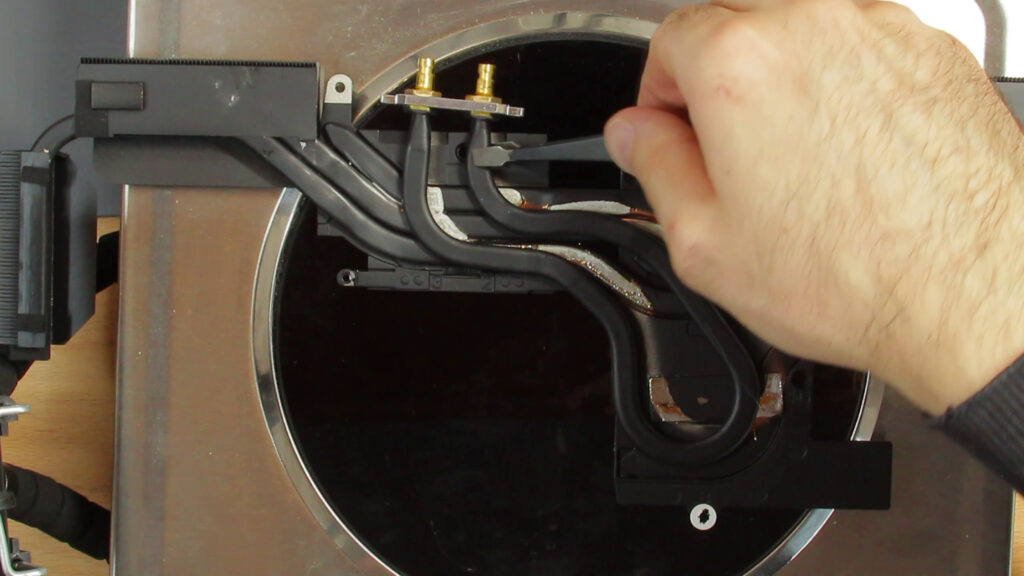
So I called for help at XMG and they send me a replacement heatsink for the XMG Neo 15, which integrates a waterpipe right on top of the heatpipes.
To extract the waterpipe from the heatsink I have to desolder it. Just like the heatpipes the waterpipe is soldered on with low temperature solder, which melts at just above 130°C.
So let’s remove the fans and start to heat it up on my trusty hotplate.
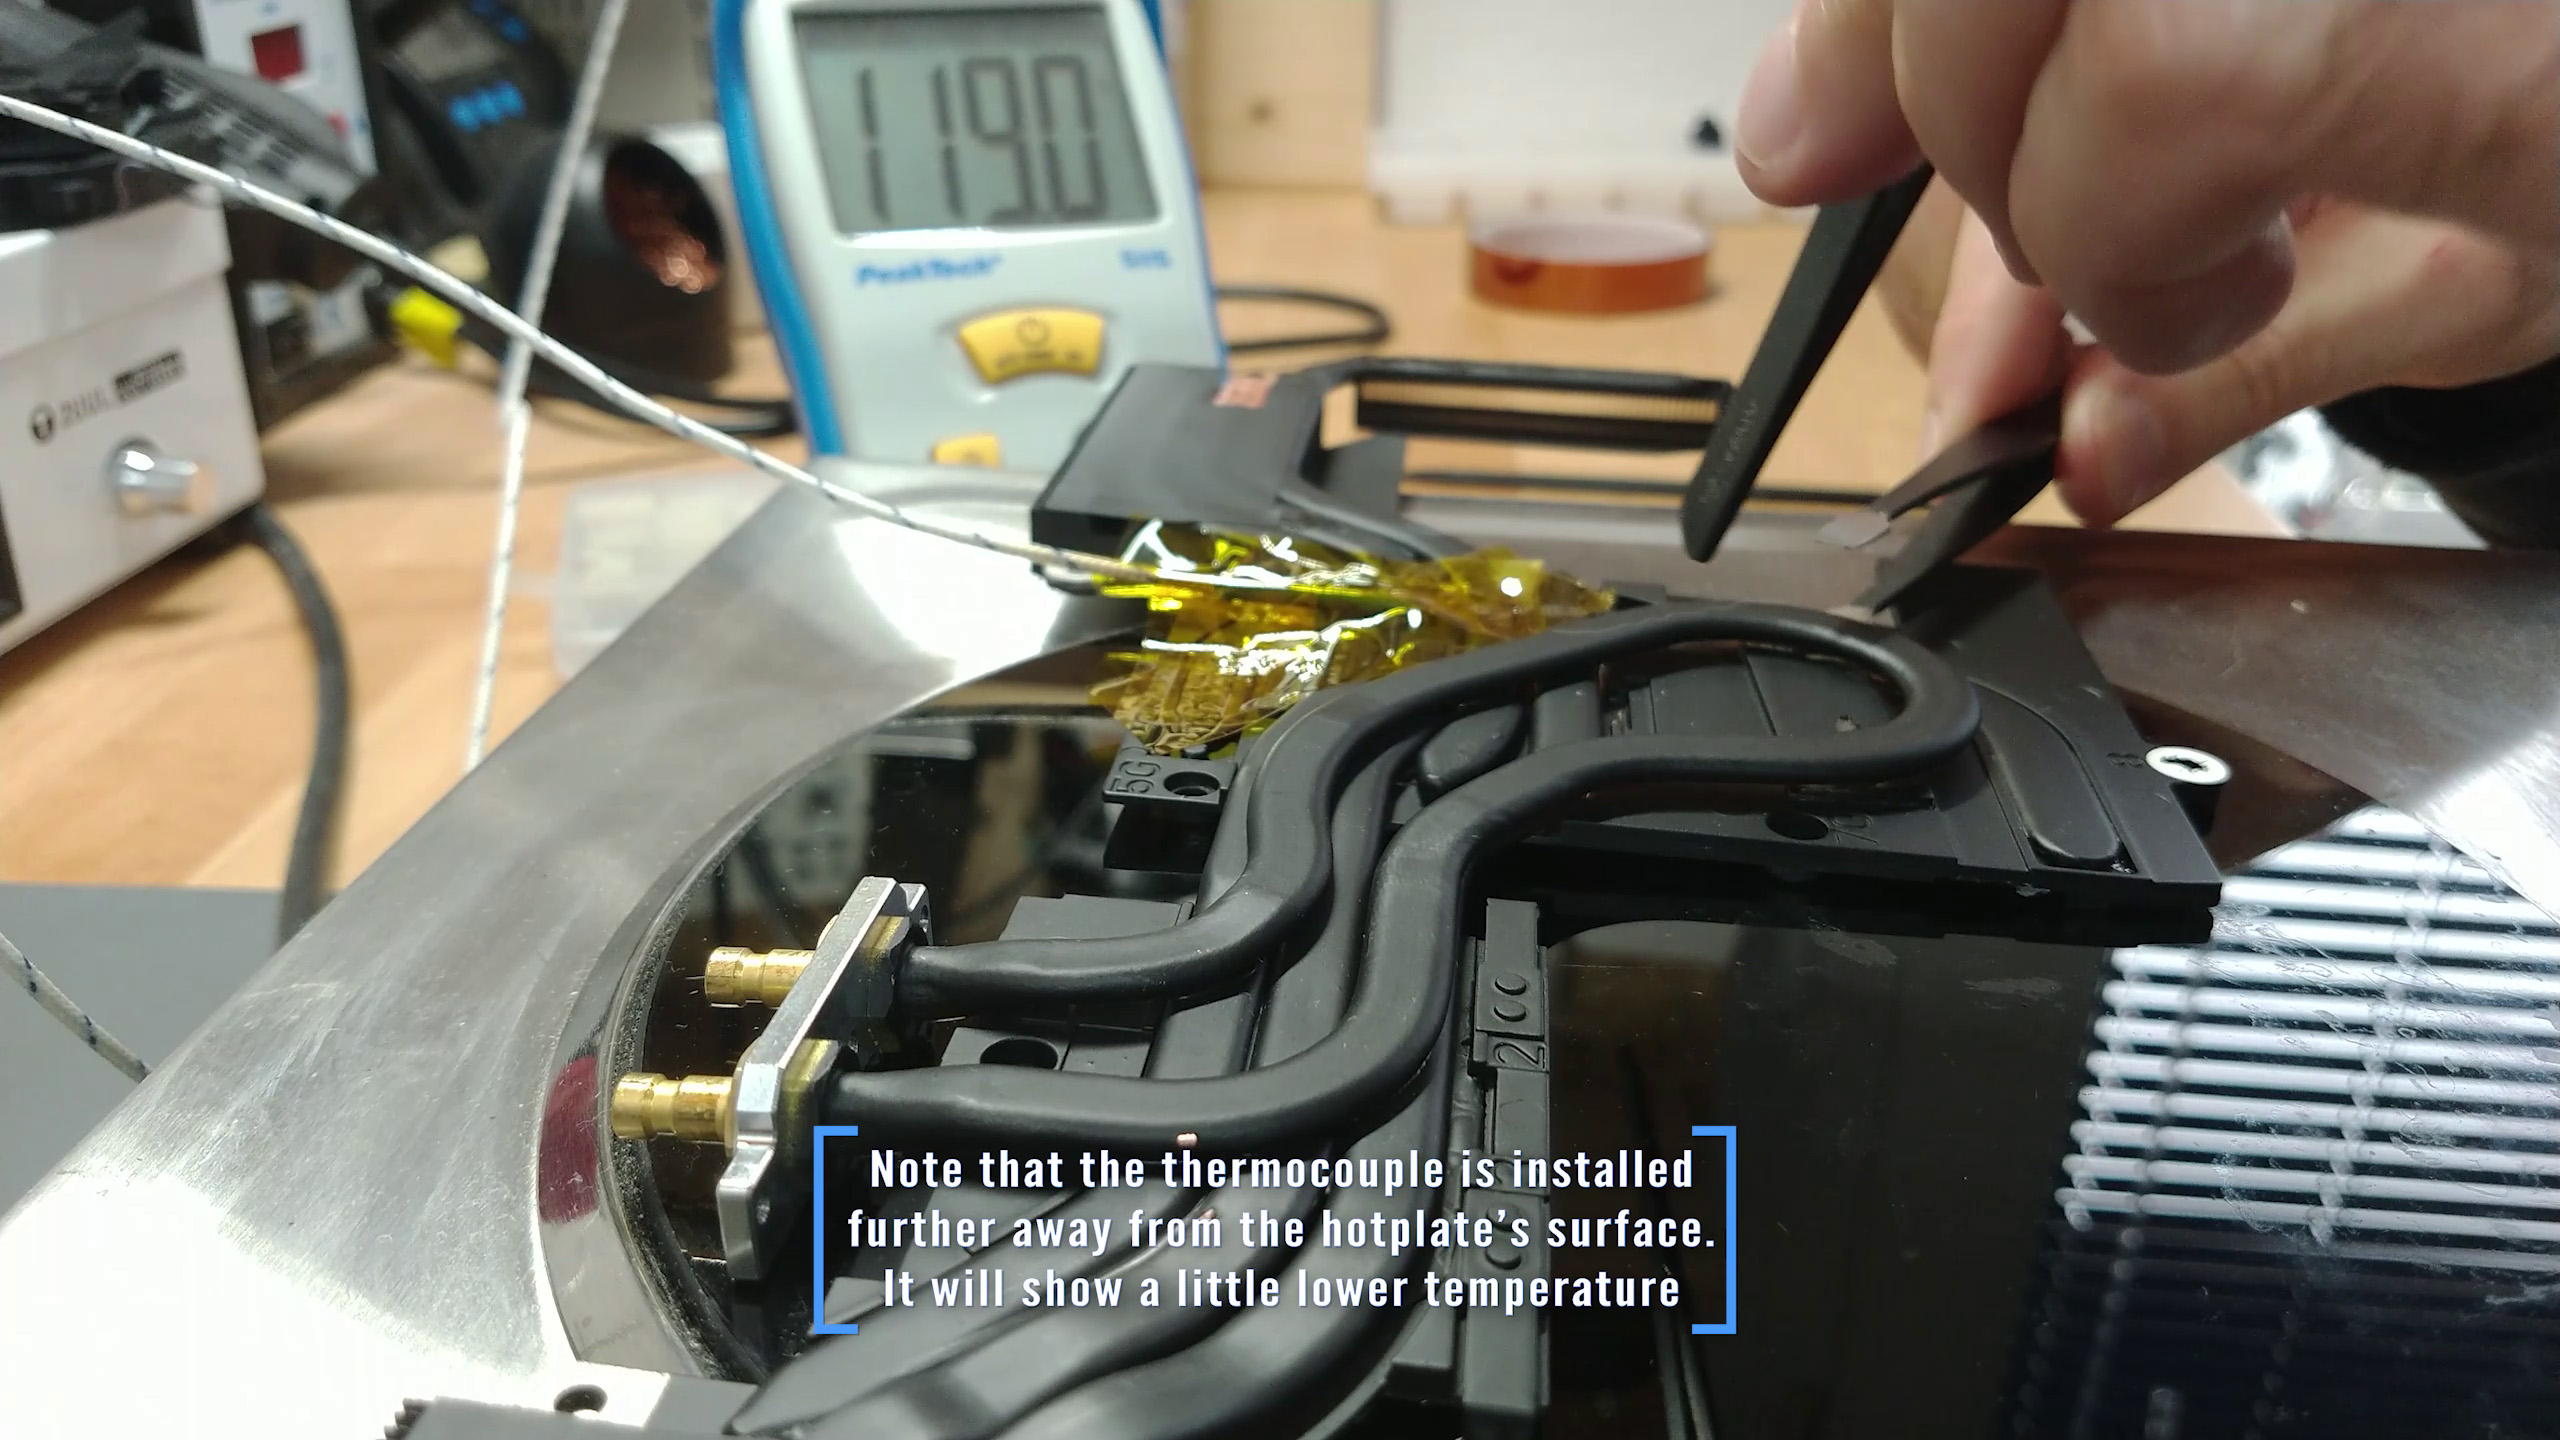


We are working in a narrow temperature range. We want to reach a little more than 130°C, but at above 150°C the heatpipes can swell and break. So if you want to keep or reuse them be careful.
As always I can recommend to use a thermocouple and constantly check the temperature if you don’t want to damage the components.
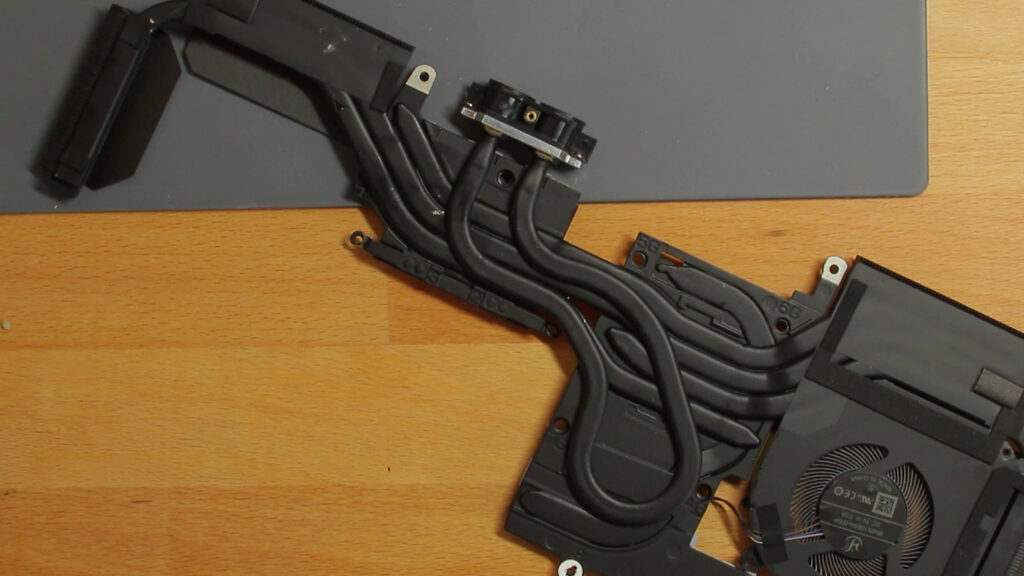
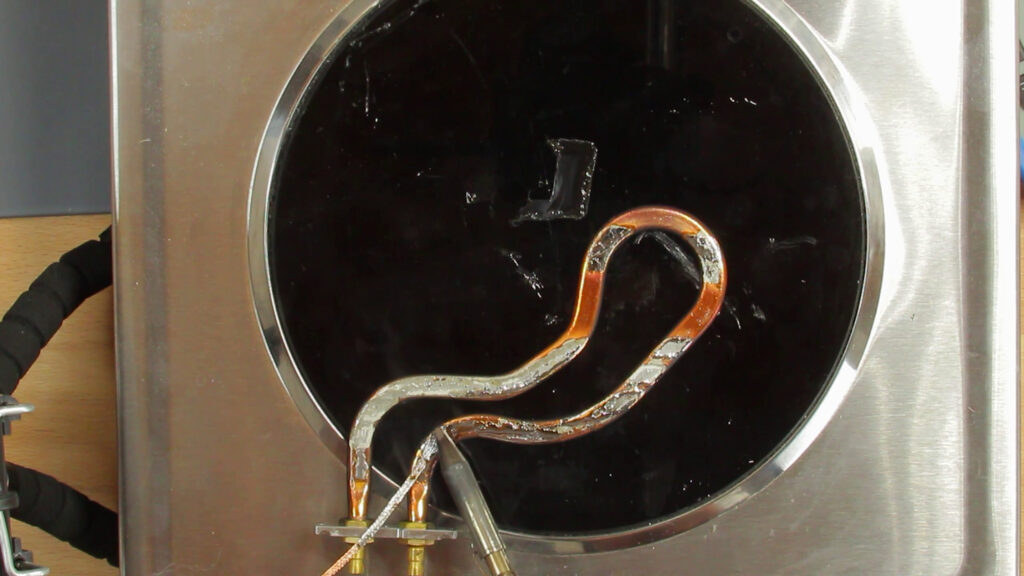
After the total destruction of the heatsink I saved most of the components for future projects and cleaned up the waterpipe afterwards using a copper wig. The goal was to get rid of most of the solder blobs for a better test fit.
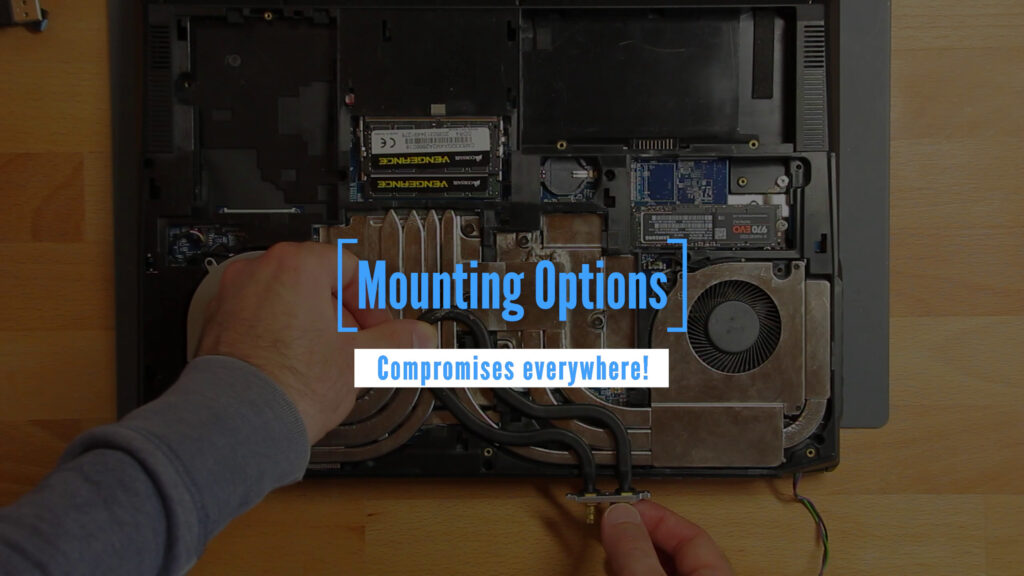
Mounting Options
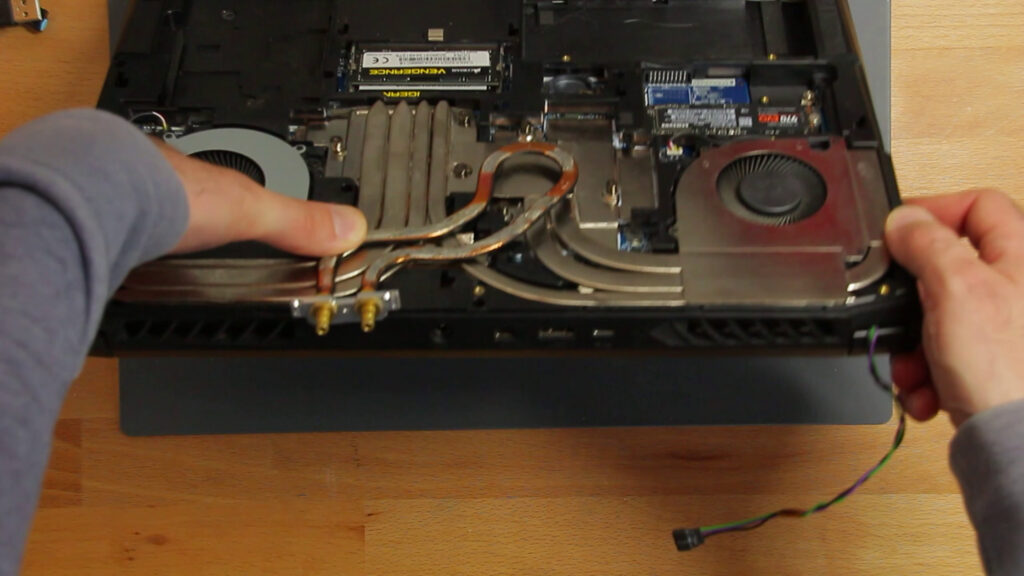
Now looking at my possibilities to solder the waterpipe onto the heatsink I soon realized, that I got two usable options, but both of them were far from perfect.
Number one, with the black painted part on top, had the advantage that it had potentially the most contact area to the original heatsink. But it comes with the trade-off that the ends of the waterpipe would stick out of the laptop by a lot, … because the waterpipe got an uplift bend close to it’s ends. And probably the most problematic thing: I would make the HDMI and USB-C port pretty unusable.

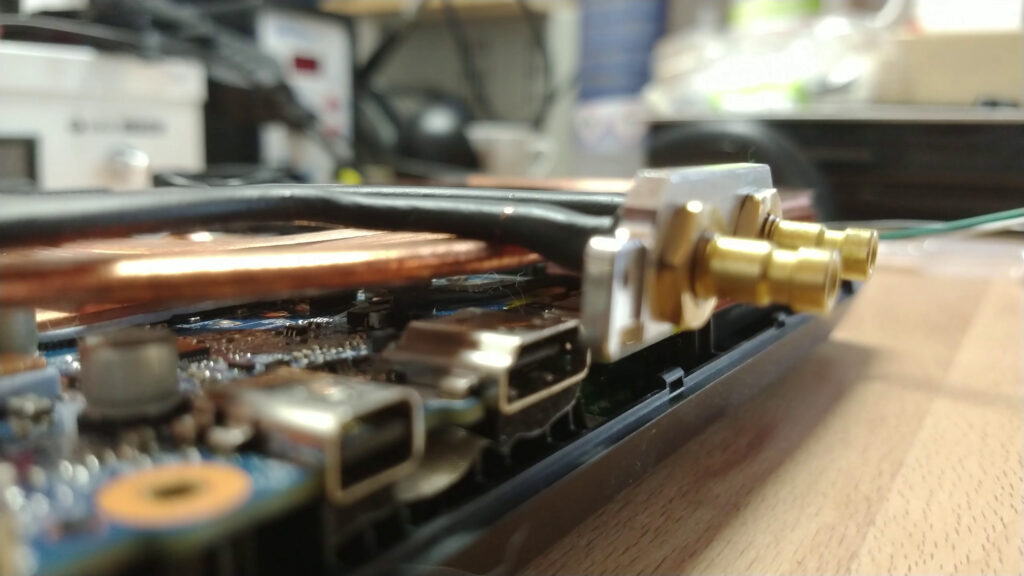

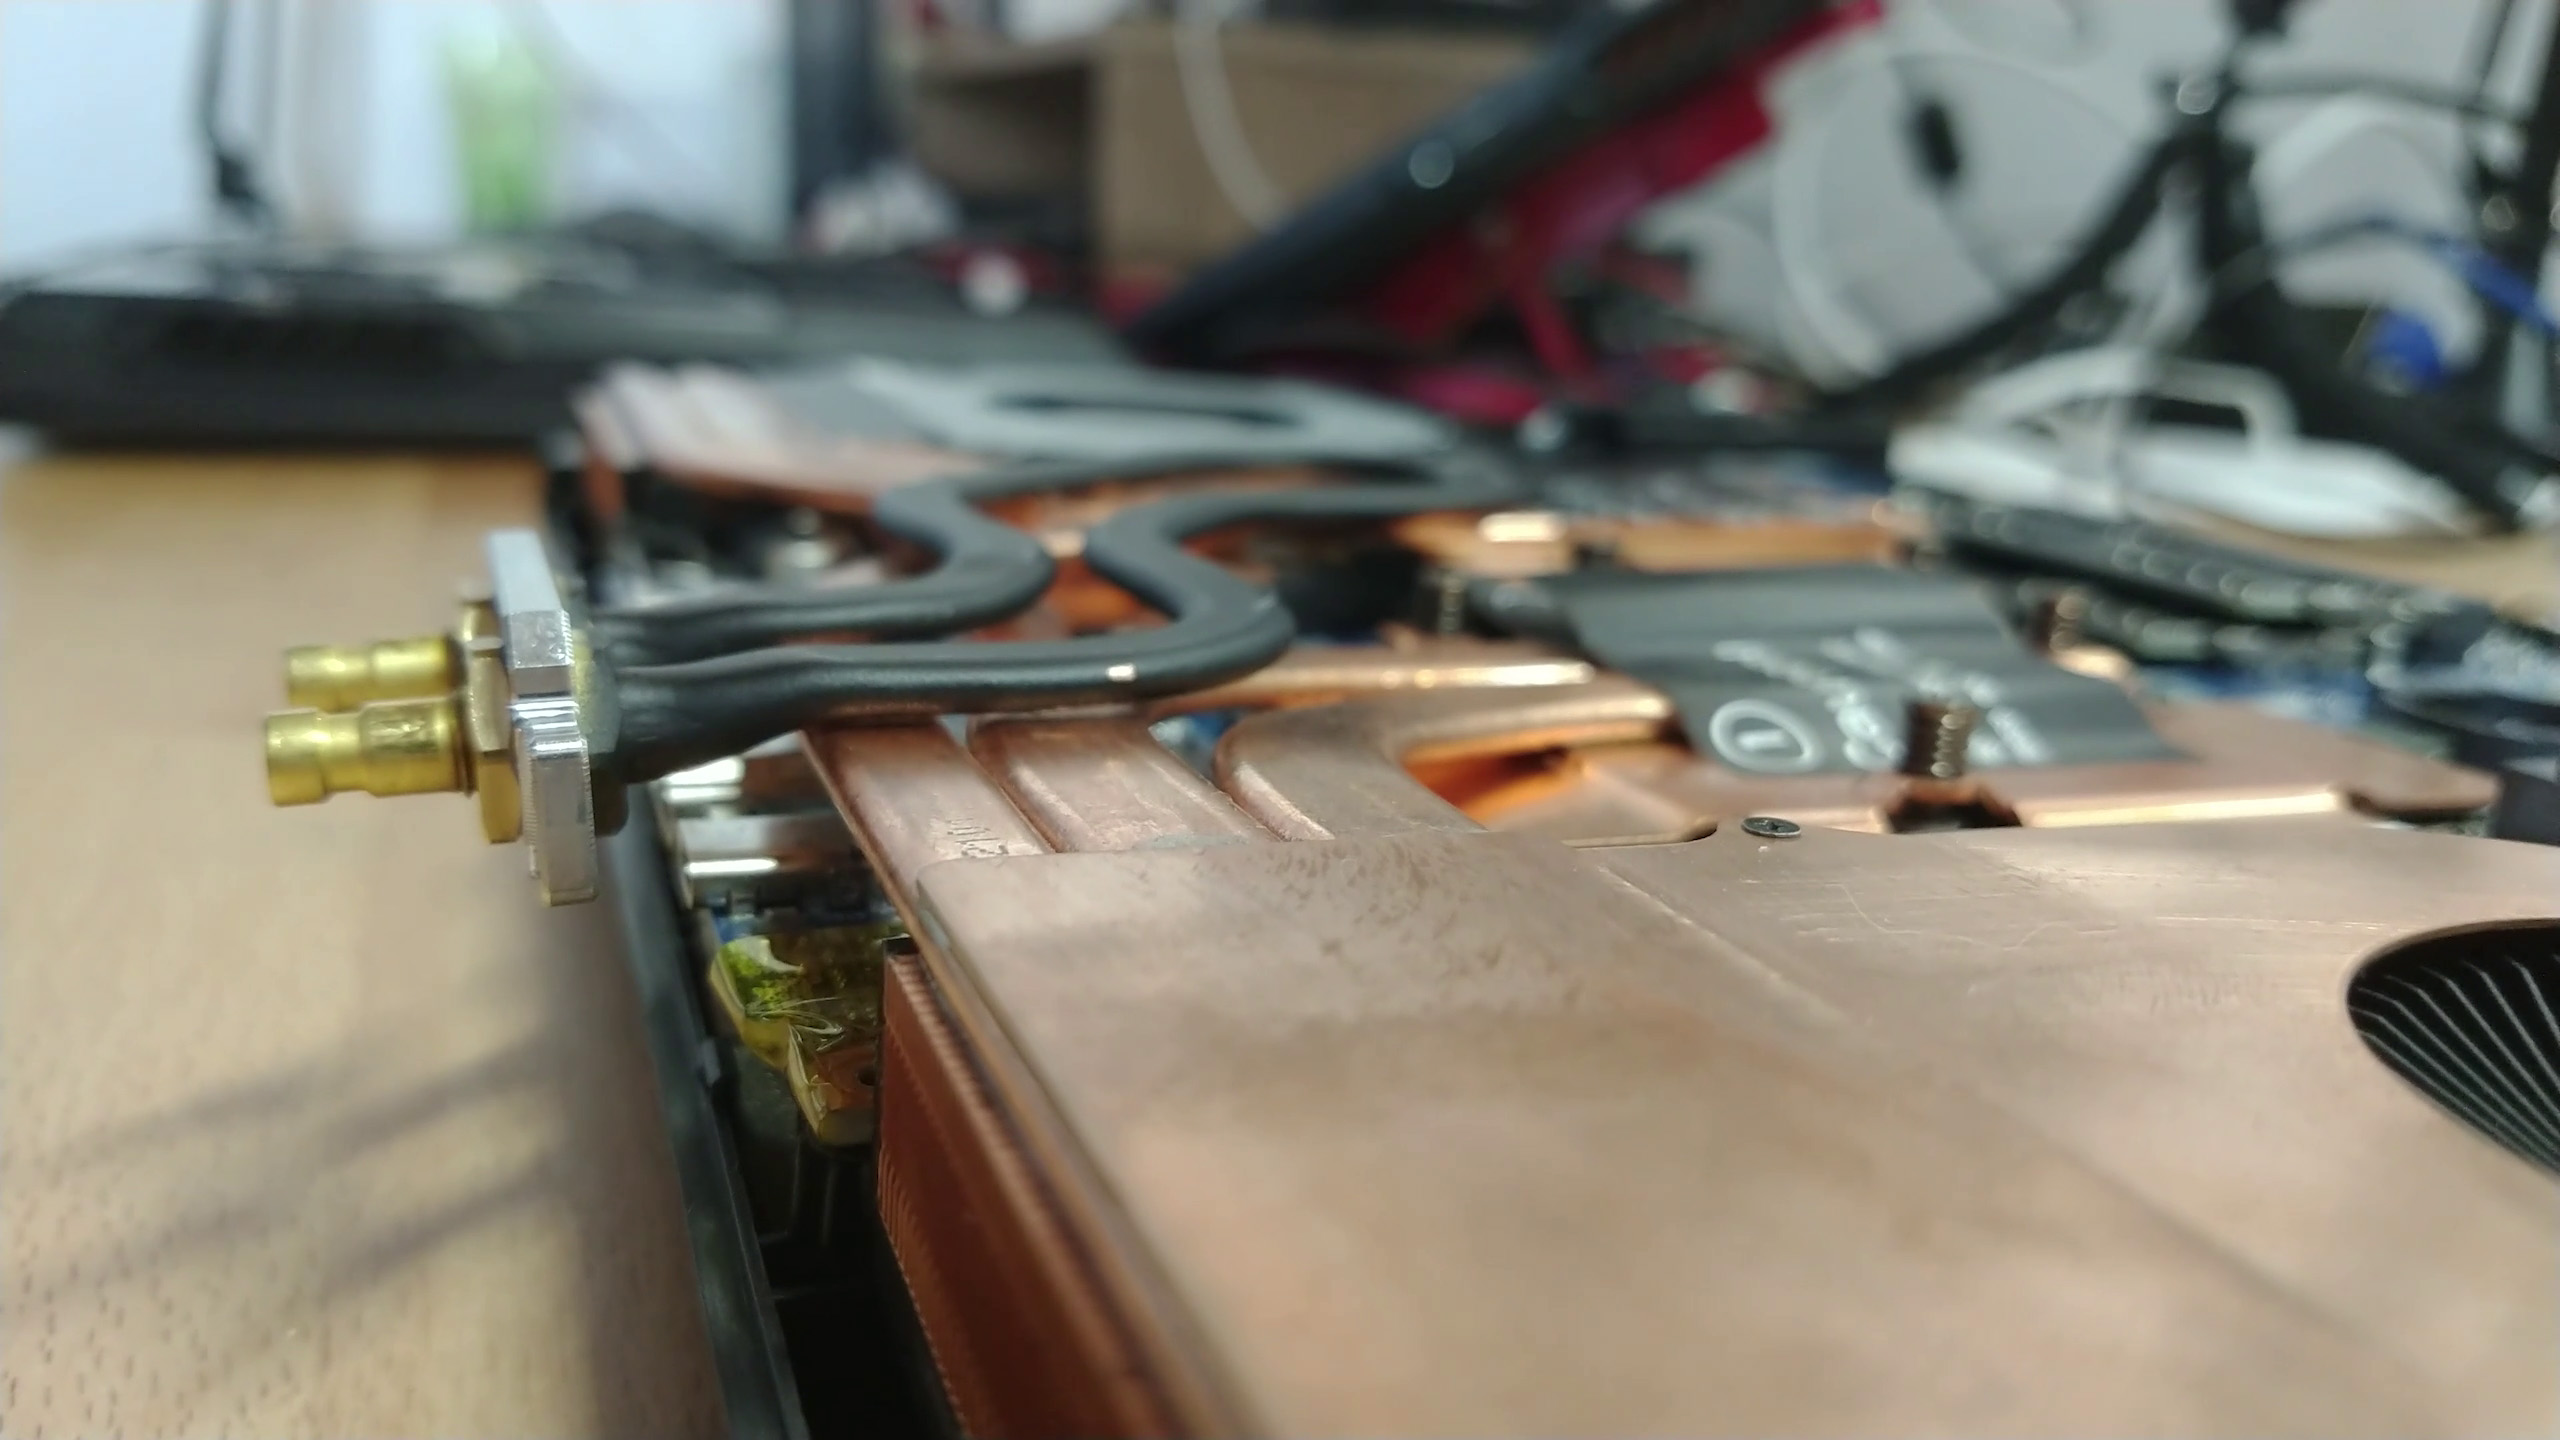
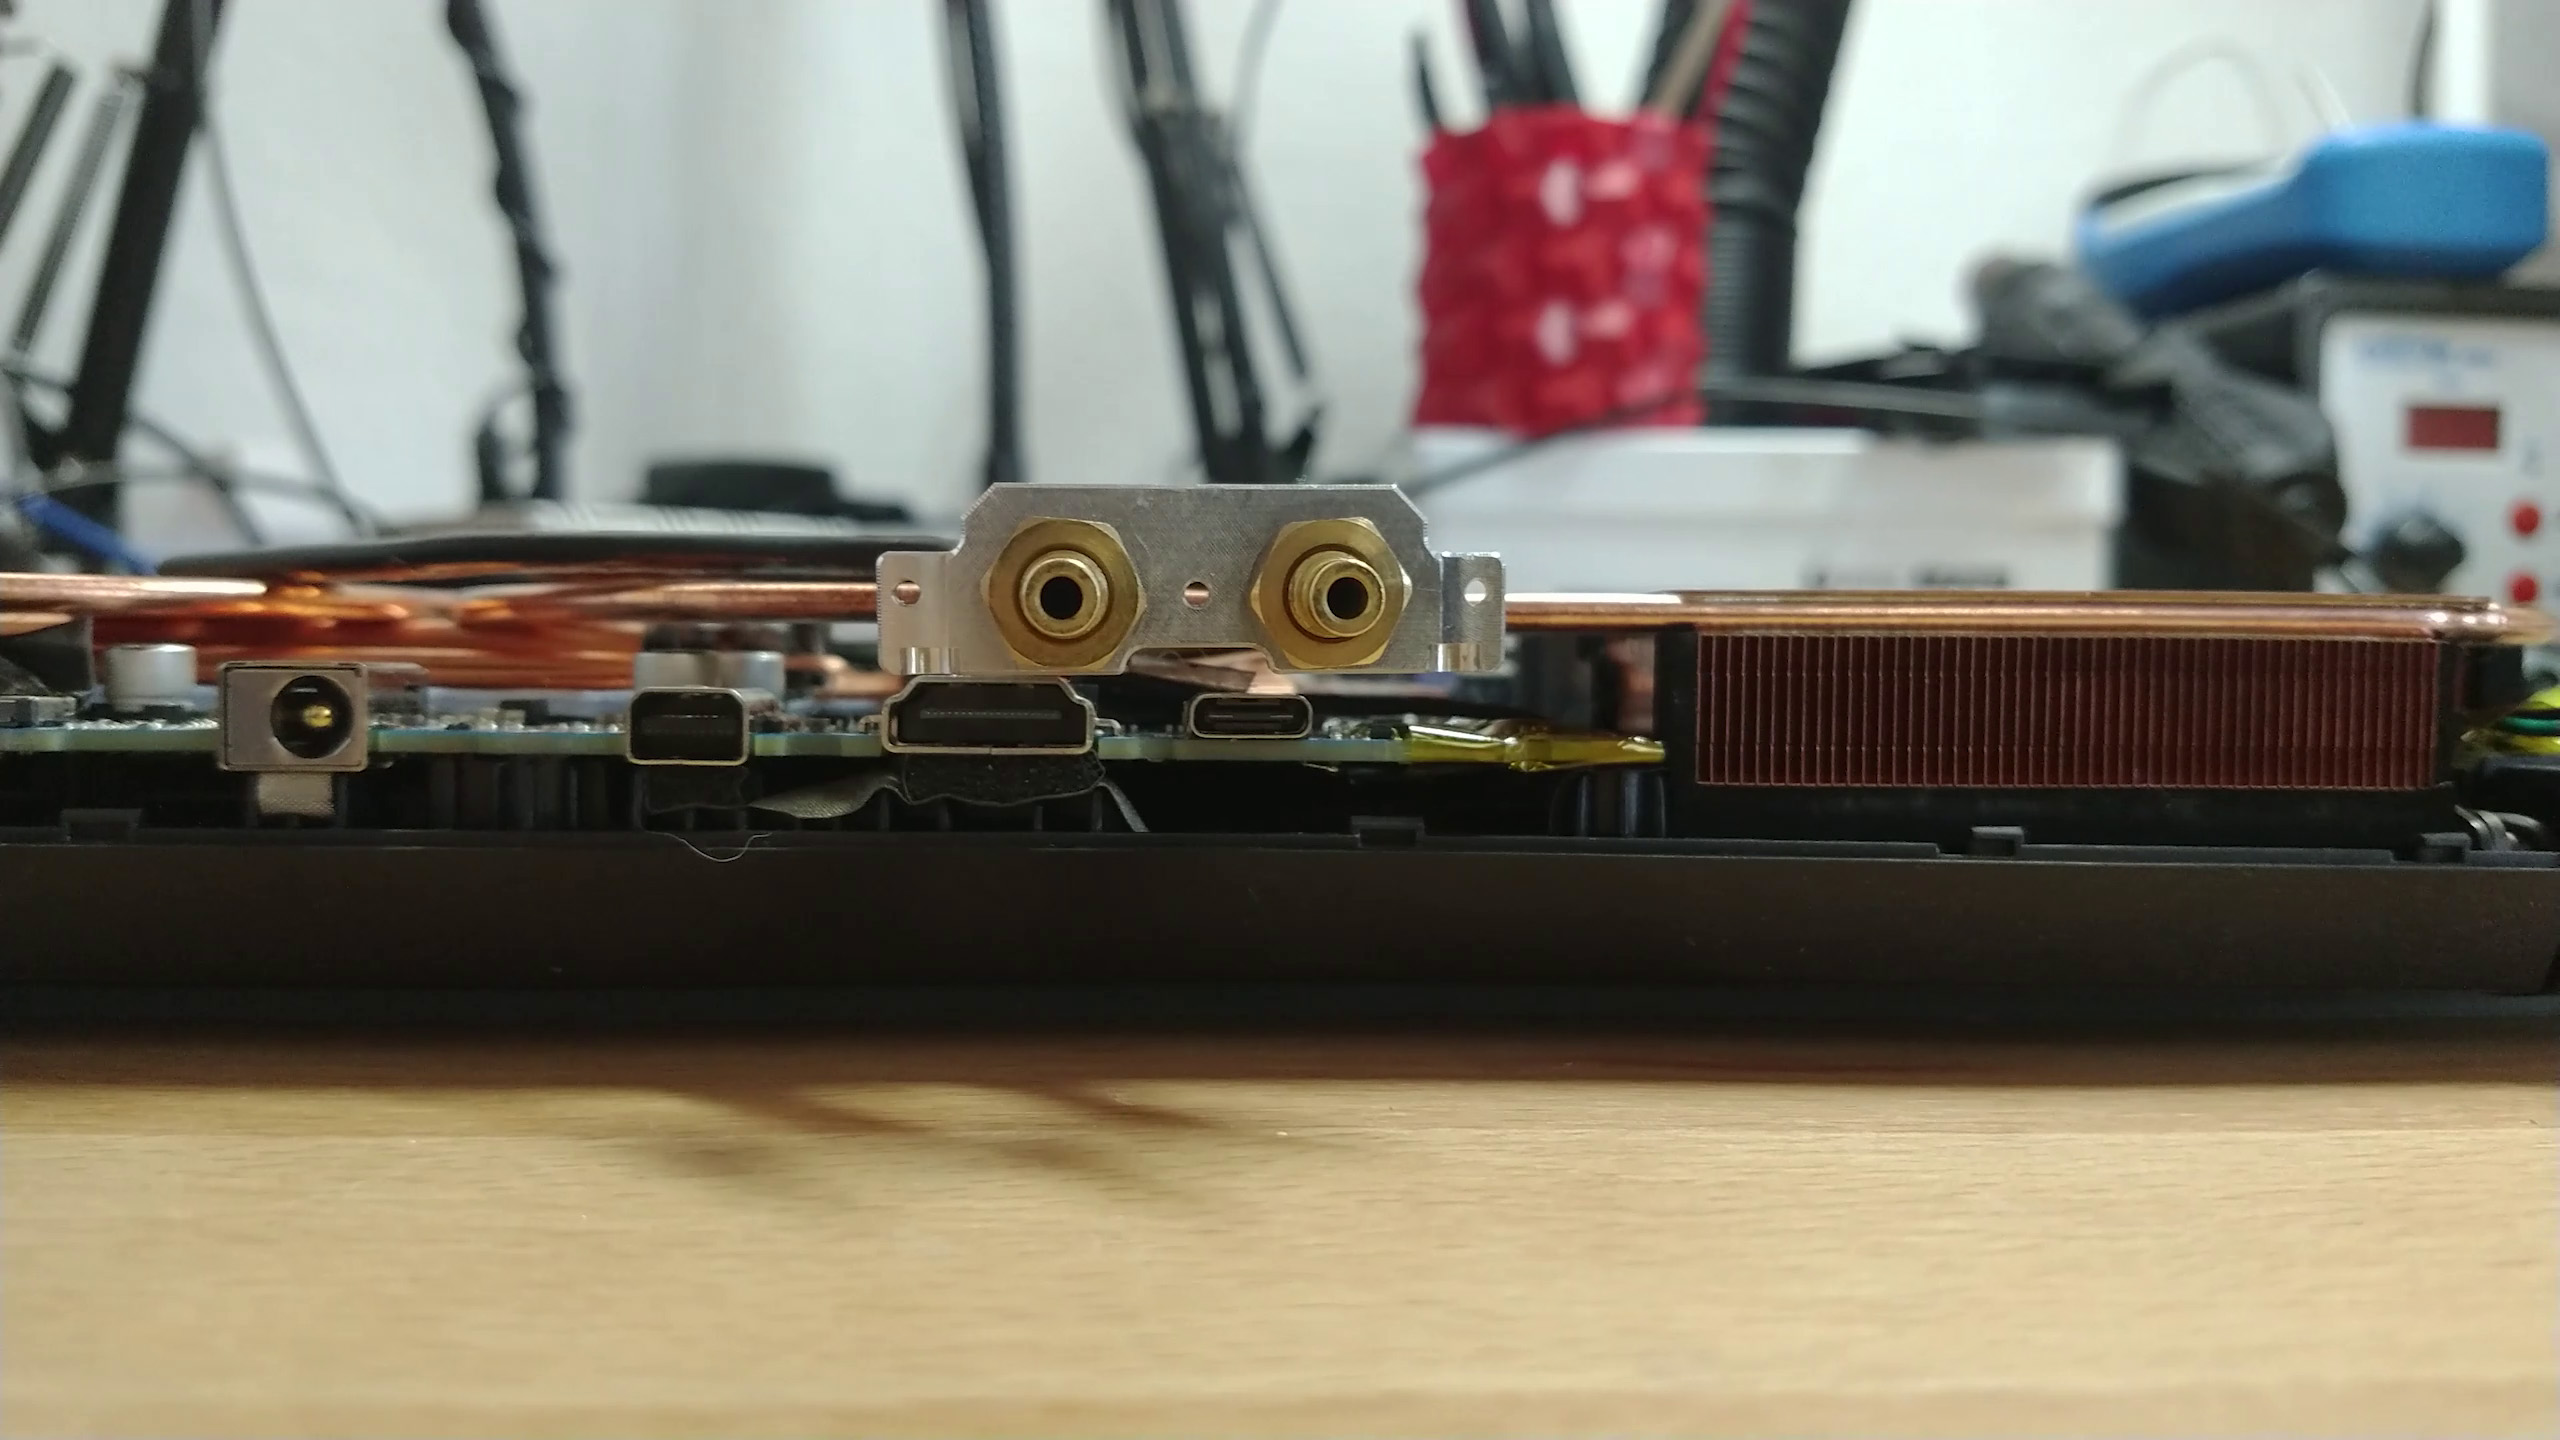
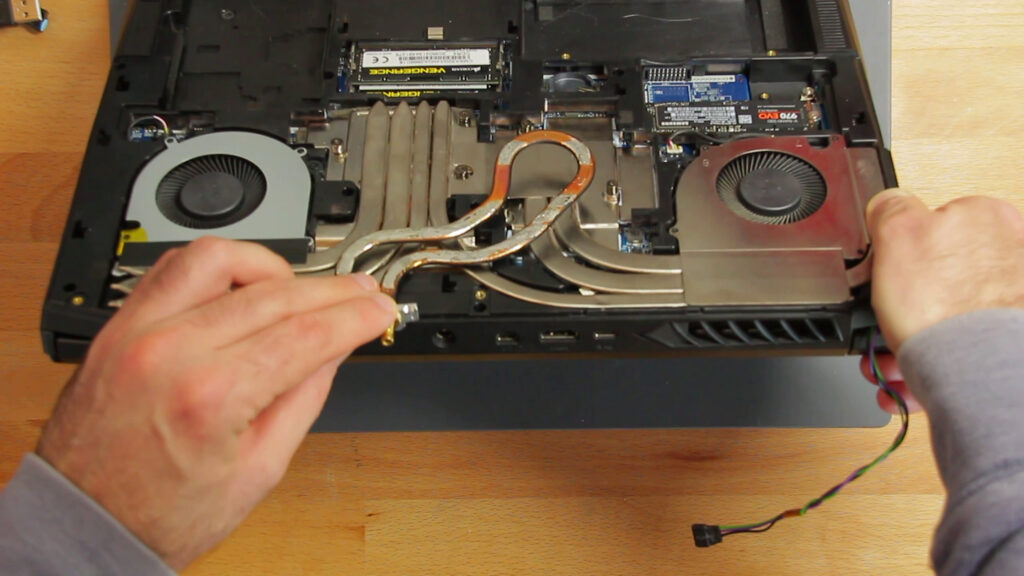
The other way around however, the waterpipe’s ends would be in a lot more useful position. But it would also make a lot less contact to the heatsink after all, plus I would have to solder in a quite big copper block to make any contact to the GPU. Which is not good for thermal transfer and additionally it’s a little harder to pull-off, because the GPU is not on the same height level as the CPU is.
Whatever I choose, the outcome would be far from perfect. So I quickly realized, that I want to try to create my own waterpipe. But this will be the topic for another blog post and video.
What do you think is the best option? Let me know in the comments.
I have decided for myself already and will let you know in the next part. In which I will solder the waterpipe onto the APEXes heatsink.
So, thanks for reading and see you in the next one.
Bye!
By the way, if you wonder why the top down images are so blurry, it’s because my good but old Canon EOS 650D got upsampled 1080p video, only. Internally it is a bit lower than 1080p footage.
I am happy that I picked up a new camera some days ago, a Sony A6400 with real 4k video. Actually 6k downsampled to 4k, which is ultra sexy. The quality difference will be like night and day. It will be premiered in part 2.


