Nickel Plating & Liquid Metal – Laptop Modding Adventure – Part 5/5
YouTube video transcription
[Original source] Partially based on the script of my YouTube videos: https://www.youtube.com/watch?v=a8iJM7CdFAg
[Updated] Contains updated data from 2022.
This guide is compatible with the the following laptops.
[Laptop] XMG Apex 15 Max (2022) with B550 chipset & XMG Apex 15 (2020) with B450 chipset
[Barebone] Clevo NH50VR / NH55VR / NH57VR / NH58VR (B550) & Clevo NH50AF1 / NH55AF1 / NH57AF1 / NH58AF1 (B450)
[Similar laptops] One K56-AR, Eluktronics Thicc-15, Eurocom Nightsky ARX15
[CPU] Zen3 & Zen2 Ryzen Desktop CPUs
[Note] This guide is applicable for Zen3 and Zen2 Ryzen CPUs in the B550 chipset based XMG APEX Max (E22) and B450 chipset based XMG APEX (E20) laptop.
More than 6 months ago i modded the shunt resistors of the RTX 2070 Mobile in my laptop. I used a 4mOhm shunt resistor instead of the original 5mOhm resistor to come in at nearly 140W TGP.
But with the higher power draw i had to cool down the components better than stock. Not just the GPU, but also the VRMs. Because of that I modified the heatsink and was able to improve the VRM temperatures significantly.
The final step I want to talk about in this part of the laptop modding adventure is nickel plating and liquid metal.
And this is the end result … Compared to the original copper heatsink the silver-ish look is pretty apparent. But it’s not just the looks.
After using it daily ever since, with a lot of transportation between home and work, i can finally say: it work’s great!
So let’s talk about what was necessary to nickel plate it, what i’ve paid for, and what the benfits and risks are when you want to use liquid metal. Let’s go trough the whole process step by step to answer those questions.
Step 1: Preparing the heatsink
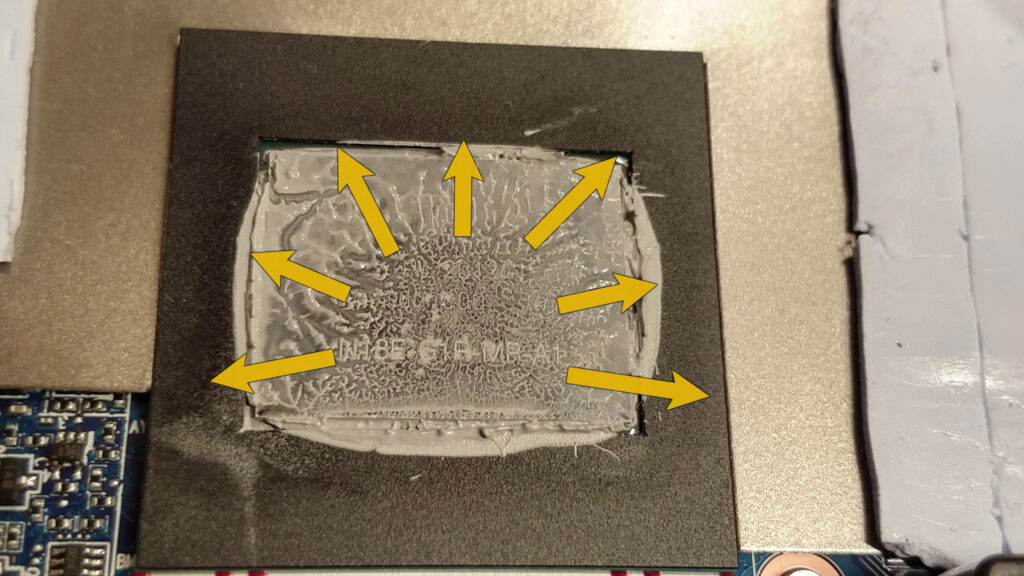
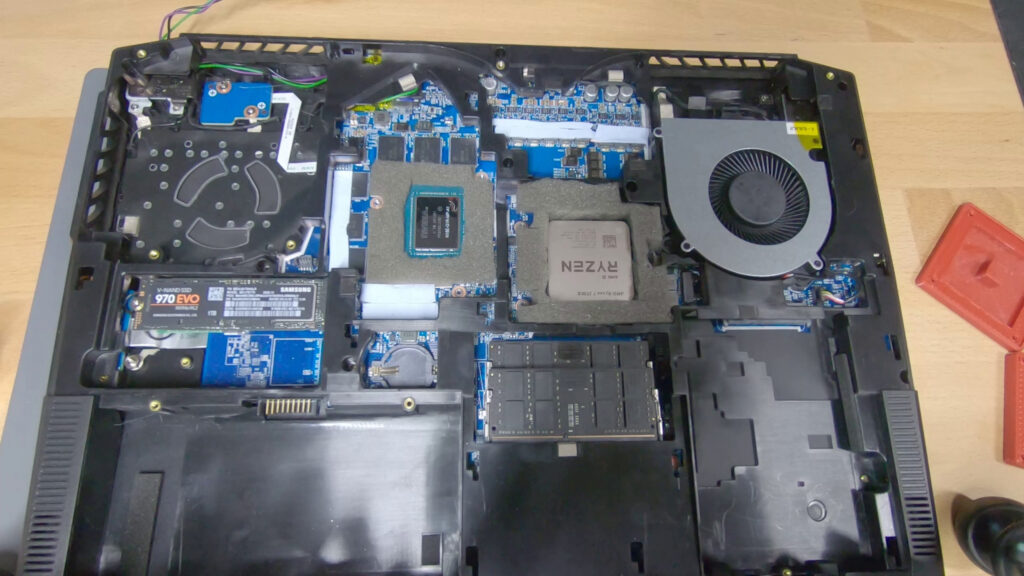
The reason for all this work was my goal to decrease the temperatures as much as possible. An important part of this is a good die contact, which was not always guaranteed with the original heatsink design. The CPU’s contact area looks very uneven and the GPU’s counter pressure is too high.
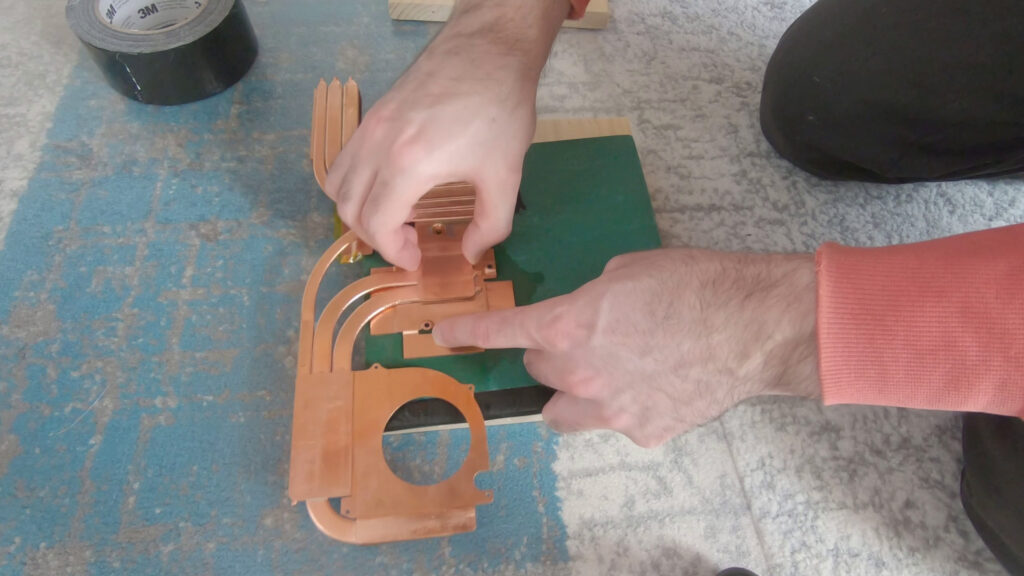
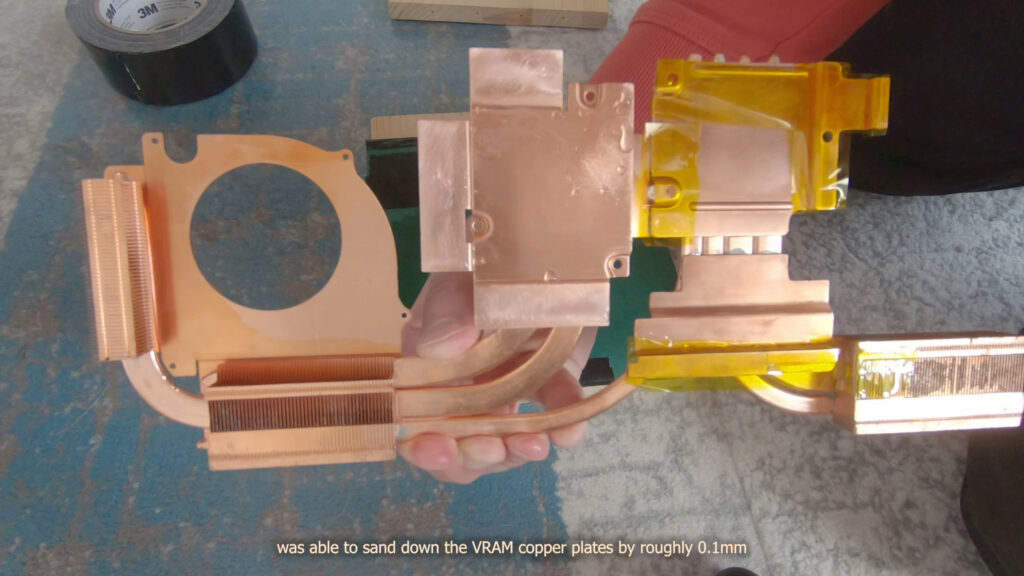
To increase the GPU pressure i had the idea to sand down the VideoMemory’s copper plates a bit to reduce the counter-pressure from the thermal pads AND allow higher pressure on the GPU die. In the end i managed to sand off 0.1mm.
Next was the CPU contact area at which i used a small glass body and sand paper to make it more flat. This area is surrounded by small copper walls, which make the sanding job in this rea a nightmare. But still manageable.
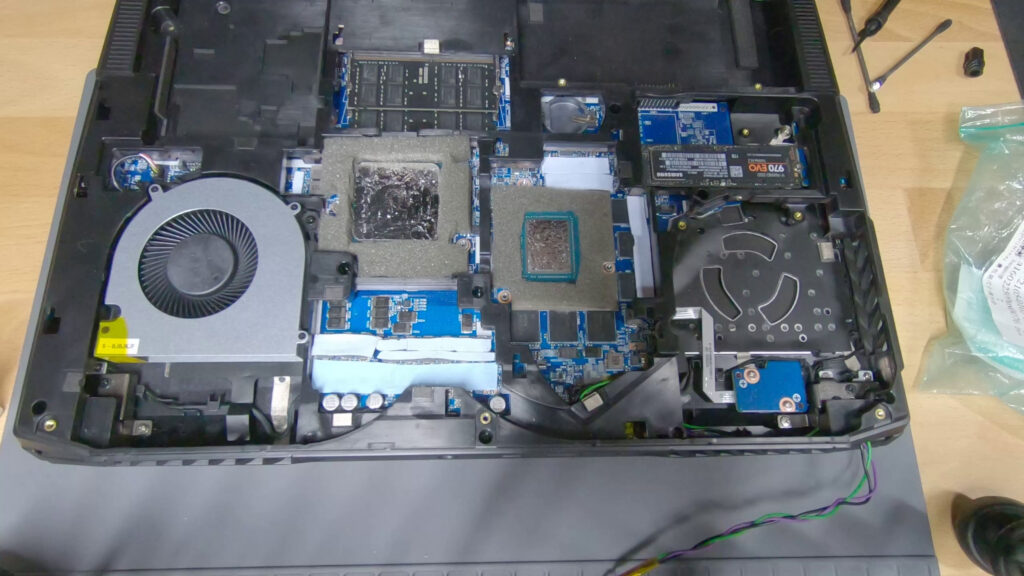
If you want to apply a nickel layer to your heatsink it needs to be super clean. That means you have to remove all stickers and other residues which are not copper or solder. If you miss some spots you will see some defects after the nickel plating is done.
Oh and just because commercial nickel plated heatsinks are shiny and got a mirror finish, does not automatically mean that the nickel layer is responsible for that. If you want a shiny surface th actual copper needs to be shiny before the nickel plating comes into play.
To make the copper on my heatsink a bit more shiny after the rough handling as you can see in part 3, i used a dremel. At first i tried to achieve a mirror-like finish with the polishing tool. But i quickly realized that it’s way too much hassle and i would NEVER reach all spots, so the end result would look quite stupid with it’s mixed rough and mirror-like surface. In the end i discovered that this polishing brush creates a good enough finish for my needs.

Step 2: Nickel plating
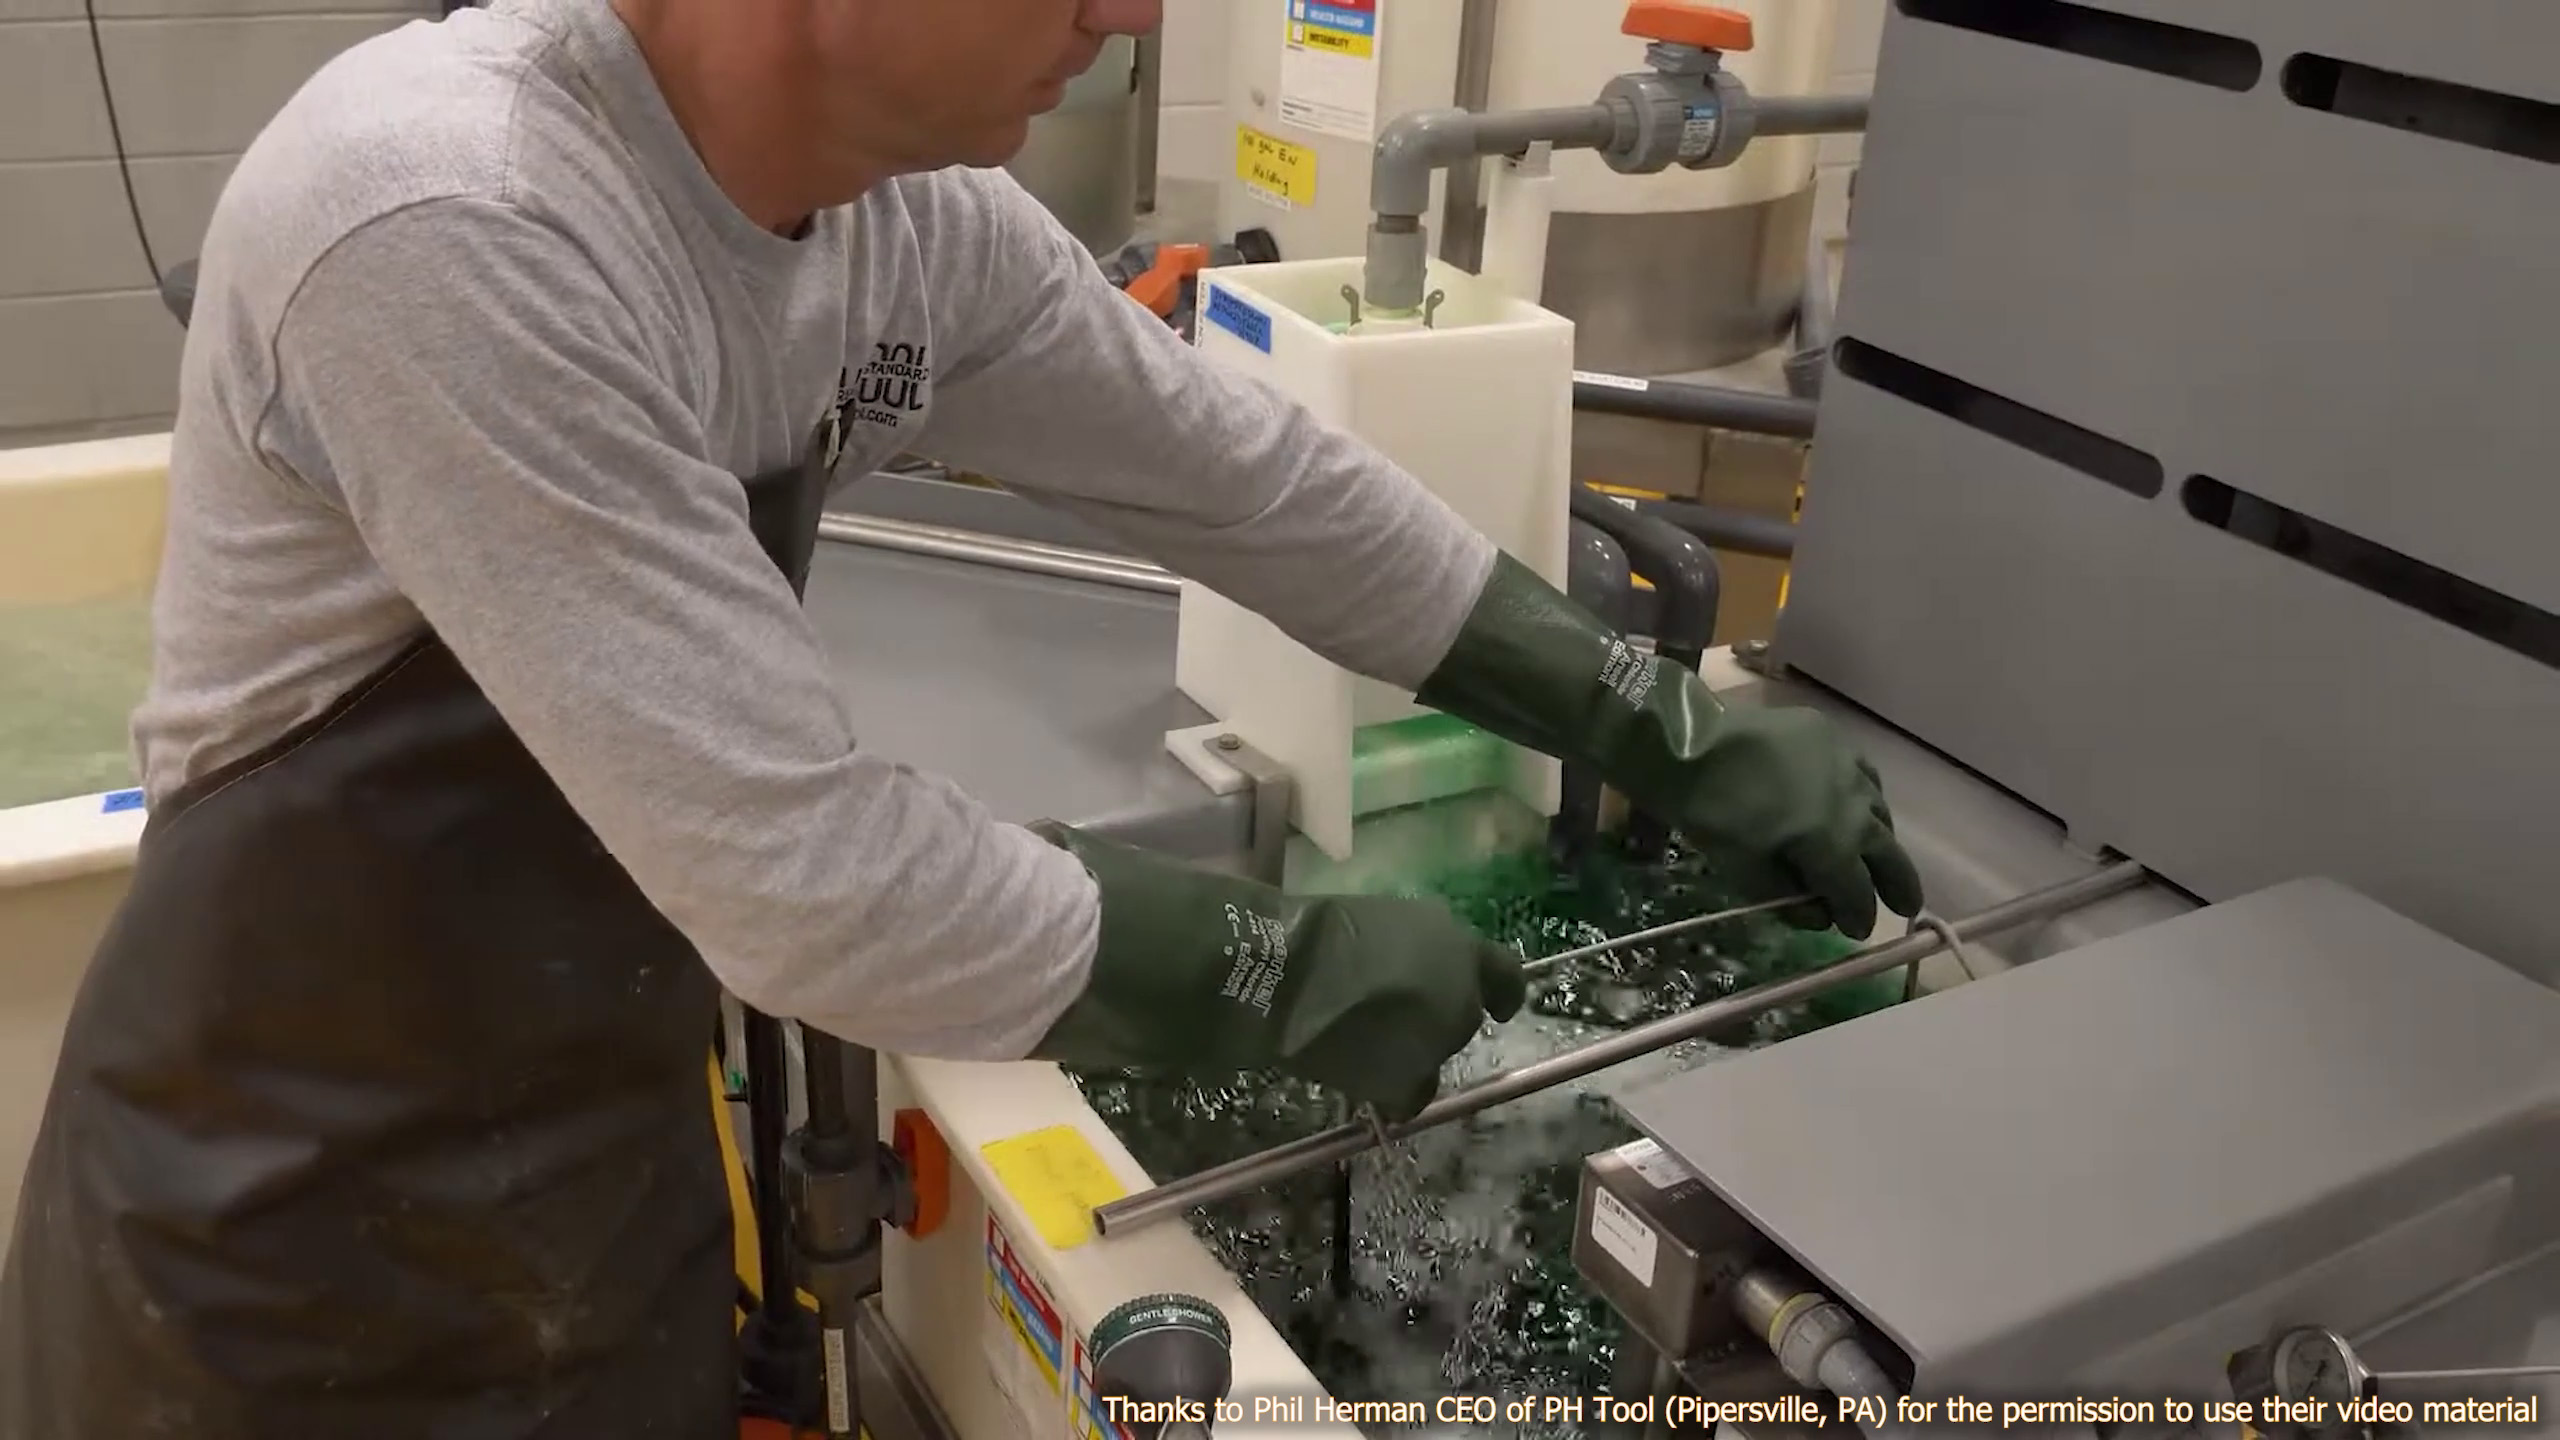
If you are like me and want the nickel layer to be robust and long-lasting consider to let it be done professionally. You can do it yourself of course, but it can go wrong, as der8auer showed impressively. Check out his video if you have not done so already. Link in the video description. I might try to do it myself in a follow up video, too. But for the beginning, I brought it to a company close to me.
The whole process takes several steps. At first the heatsink gets washed in a heated soap tank, rinsed with clear water, then gets cleaned in another soap tank with a small additional electric current and gets rinsed again. Next is a tank which contains an activator which is different for every material we want to nickel plate. In our case we got a copper heatsink which needs palladium chloride to prepare the copper surface for the plating process (make it catalytic to the process). Otherwise the nickel would not be able to bond with the copper surface appropriately. After this step the part will get rinsed with clear water again.
And finally the part needs to stay in the hot phosphorus nickel solution for about 30 to 60 minutes. The longer the parts stays in, the thicker the nickel layer gets.
In my case the heatsink stayed in this bath for round about 40 minutes, which should give me a nickel layer thickness of 15 micrometers, which was the most common value for heatsink i found in the internet. And the best part about all the hassle: it costed me only 32 euros. Nothing to regret, the end result looks awesome.
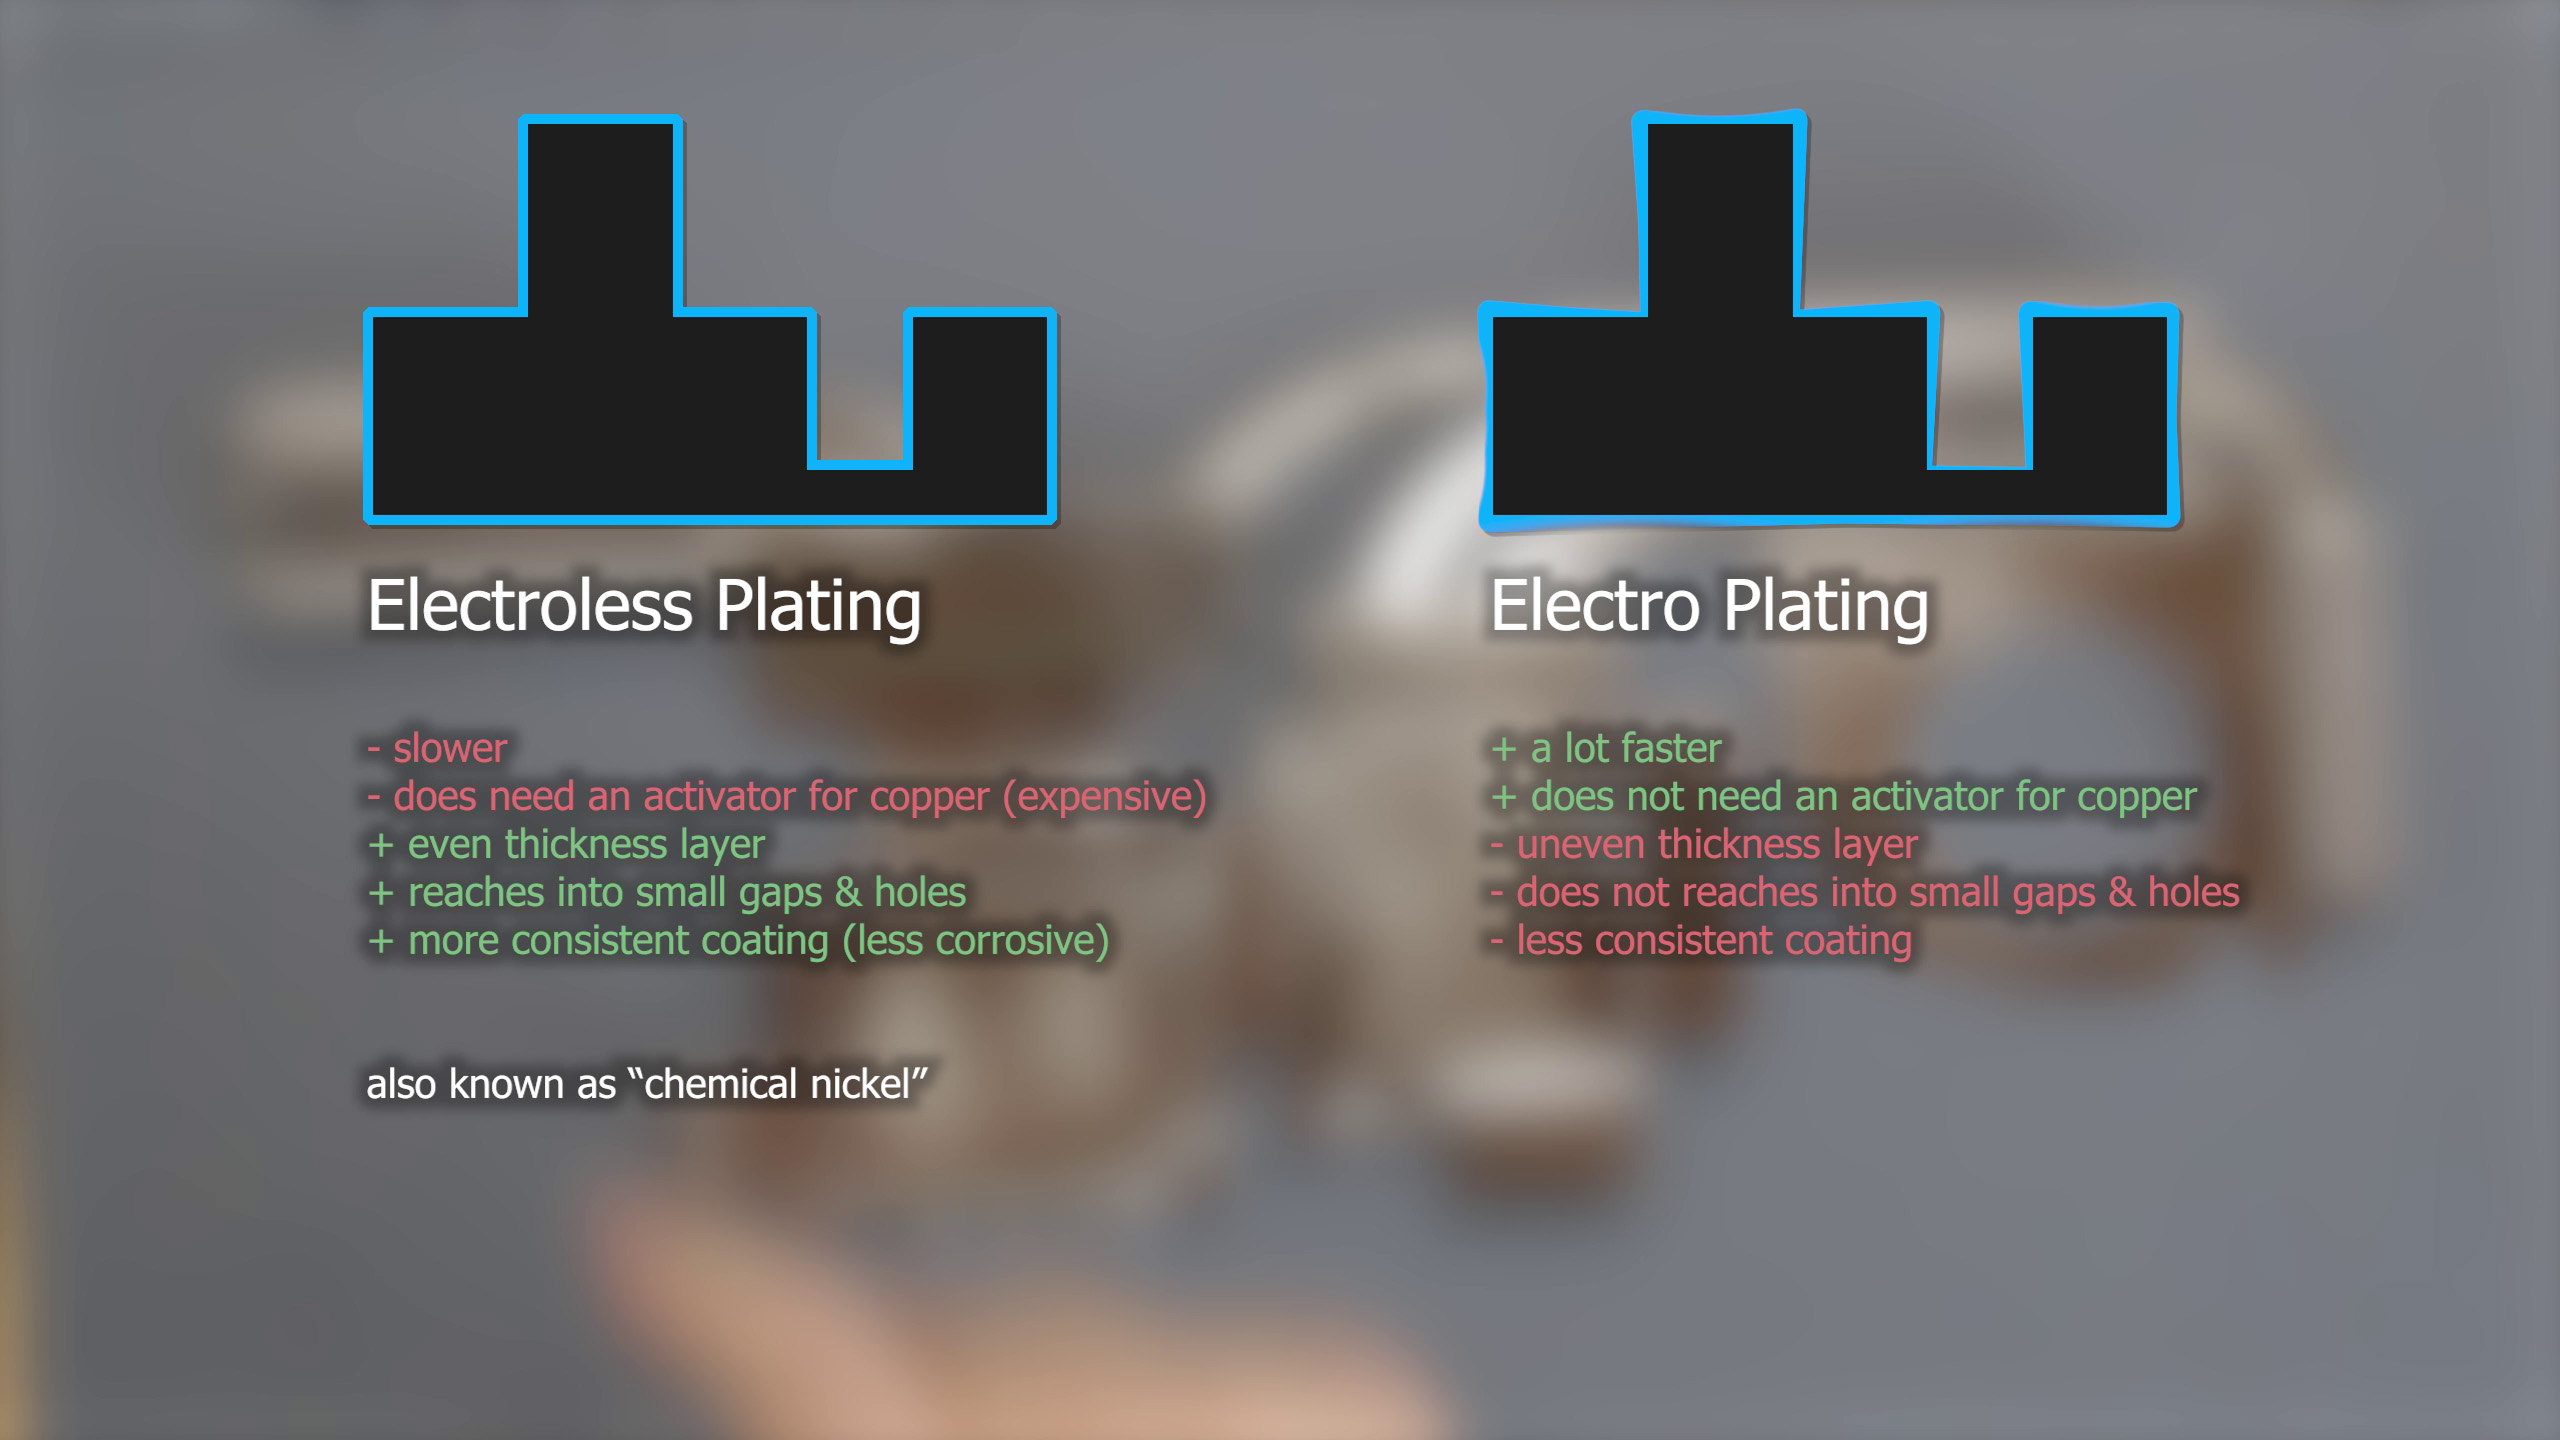
By the way, there are two methods to nickel plate a part. You can do it by electro and electroLESS plating. What I just described to you is electroless plating, whichg means there was no electric current involved in the actual plating. Commercial products usually use electroless plating too, because it’s easier to do in masses and creates a very robust, consistent layer with even thickness.
Electro-plating on the other hand allows to apply nickel more concentrated on spots and it’s a lot faster. But it tends to form layers of uneven thickness because the nickel atoms tend to concentrate on edges instead of the whole area evenly.

Step 3: Protect your hardware from the Dangers of Liquid Metal
Liquid metal is conducting electricity and it is very very viscous. If not applied correctly it can easily form drops and move around in your computer, where it can eventually short out components and possibly damage your hardware.
To prevent that we have to make sure the liquid metal can’t leave it’s place. As seen with some commercial products we can try to create a barrier around the CPU and GPU die. The perfect solution for my DIY attempt should be soft and temperature resistant foam. I found some for acoustic dampening applications, which met the criteria. I just needed to cut it down to an appropriate shape and thickness and i was ready to go.
It may not look awesome, but it should work as intended.
But as you may notice, the foam does not cover all spots on the GPU die. Some components are still in danger to become shorted in case the liquid metal spills out.
The answer to that problem is a protective coating layer to electricly isolate the little capacitors. I know there is a product out there which is made for this use-case specifically. But to be honest: who thinks red is a good color for that?
And what about the favorite of the DIY community? Nail polish! Well i don’t think most of this stuff is made for high temperature applications in technical devices. So who tells me this stuff will hold up over multiple years?

Now i had a little chat with a friend of mine and he recommended conformal coating for PCBs. This stuff is made to protect PCB components, resists high temperatures and should be long-lasting too. Sounds perfect, doesn’t it?
Unfortunately i had found clear conformal coating only. This stuff surely works, but the transparent looks drives me nuts. My eyes can still see the solder joints, so how do I know they are truly isolated? Eventually i hope i should not be too worried about that. After three layers it got to be isolated perfectly according to the product description. … So i applied 5 layers. 😀
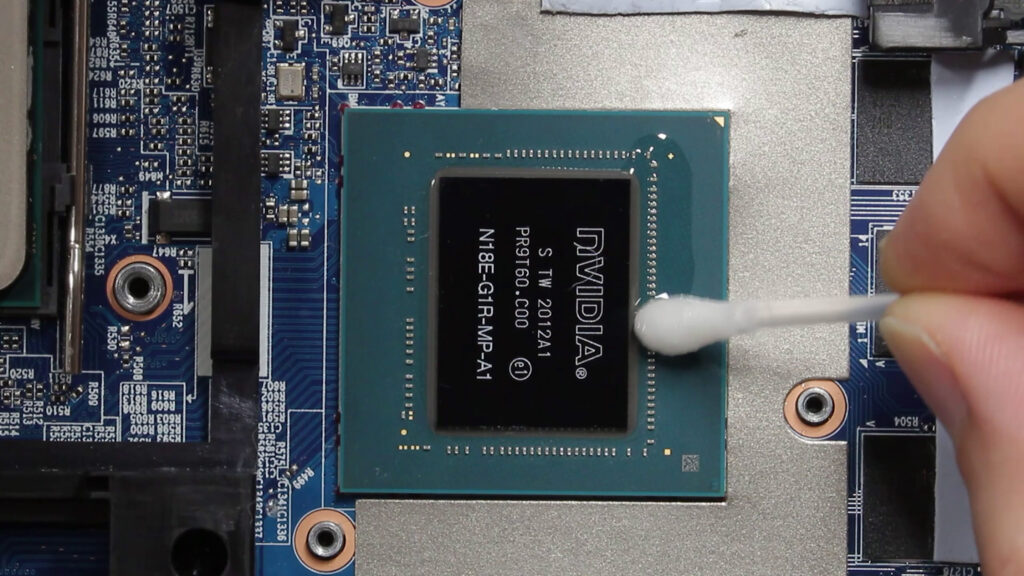
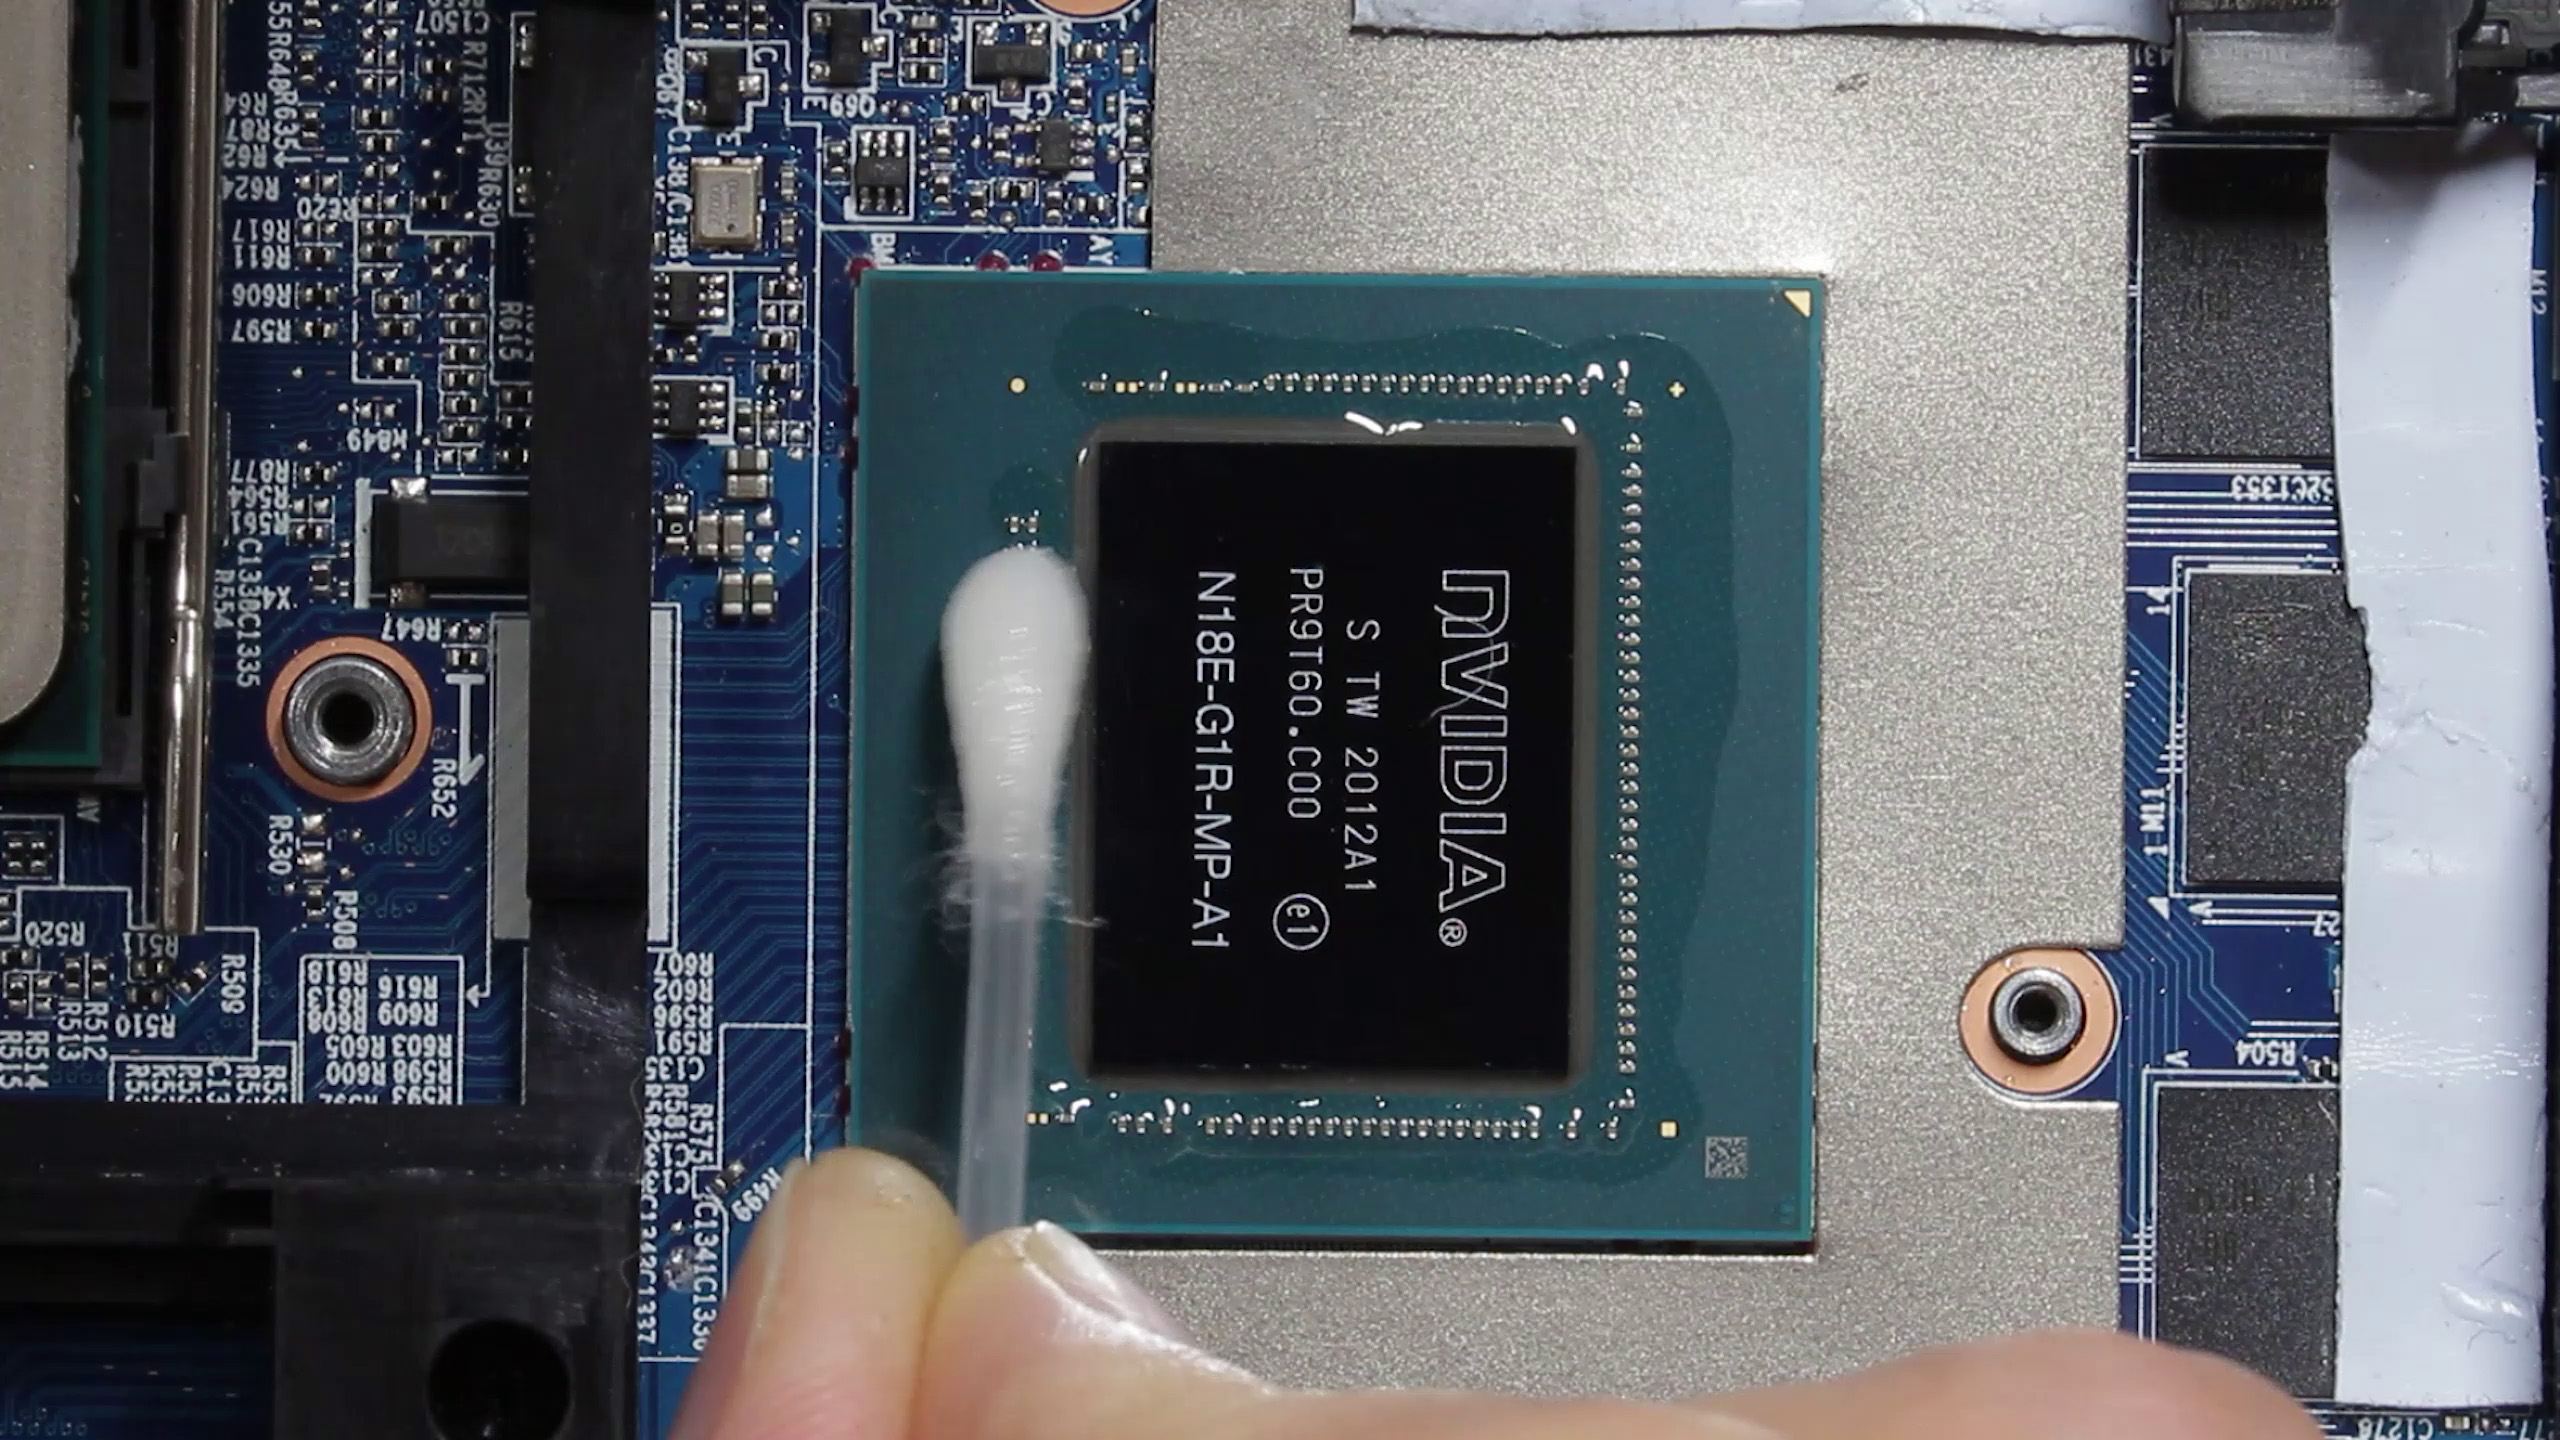
Step 4: Reinstall the Heatsink with Liquid Metal
Now that I got the foam, the isolating conformal coating and a protective nickel plating on my heatsink, everything is prepared for the liquid metal. It shouldn’t short anything and it should not be able to mitigate into the heatsink’s copper and “dry out” so to say. It should stay where it is and keep it’s properties even after years of use.

Step 5: Enjoy the results
And the results speak for themself. Compared to the thermal paste the temperatures improved significantly. It looks like the thermal bond is a lot better, which helps to transfer the heat from the GPU into the heatsink more efficient.
Unfortunately I can’t see any temperature benefit for the CPU. I guess the IHS is the show stopper here, so it makes no difference if we use thermal paste or liquid metal on it’s large surface. There is a reason why it’s called Integrated Heat Spreader. It does it’s job nicely already, which is why we don’t see any improvements.
Or maybe there is also another reason playing a role here. In the past I noticed that thermal paste and thermal pads left an uneven imprint. It looks like there is a small valley in the middle of the CPU, which could be responsible for bad contact with the heatsink. Especially when you think about the very viscous liquid metal.


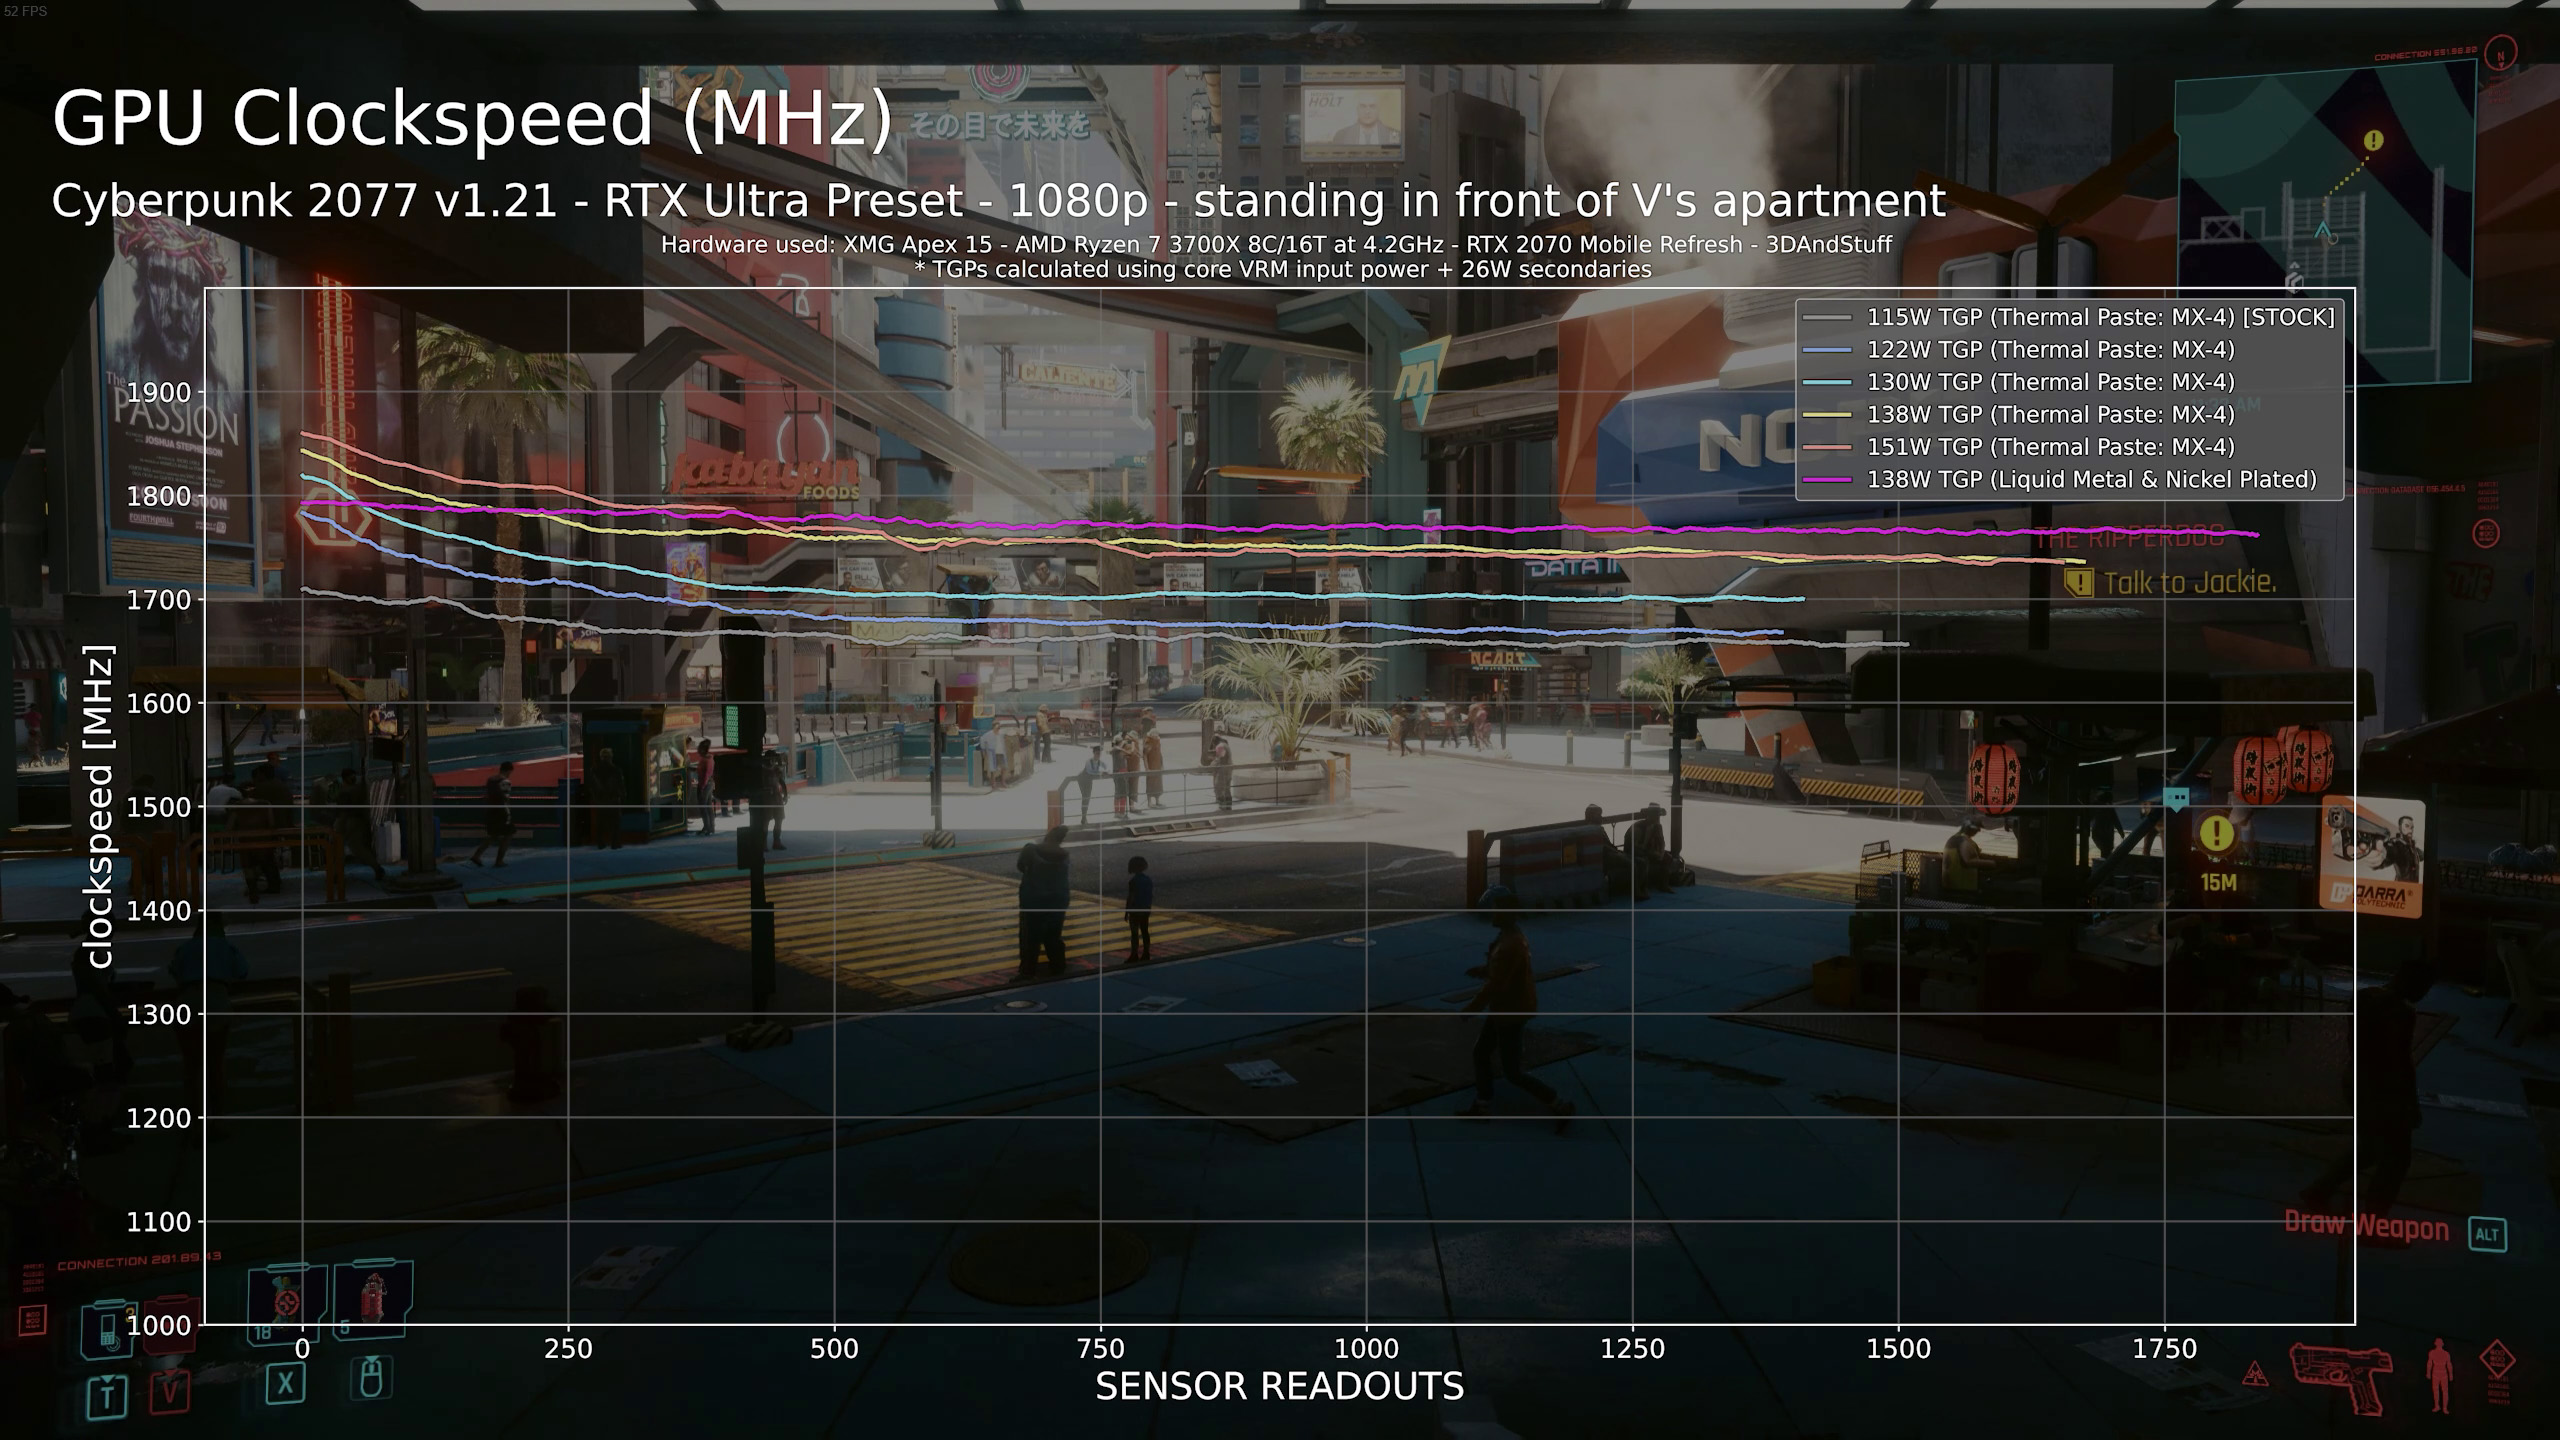

The raised power draw and the better cooling allows the GPU to perform better in the long run as we can see in this plots. You are looking at the GPU core clockspeed and as you can see the clocks stay higher and do not drop off as much over time.
In case you don’t know, this comes from the behaviour of the GPU to throttle itself gradually when it becomes warmer. The cooler you keep your modern GPU the higher the clocks and FPS will be. The throttling starts to become really heavy at a certain point, which is usually at 87°C.
This ultimately means short benchmark runs as seen with TimeSpy, do not tell you much about the long-term performance. In this plot the TimeSpy scores of both the thermal paste and liquid metal runs are nearly identical. But in the longer TimeSpy stress test you can see some clear performance benefits after just 5 minutes under full load.
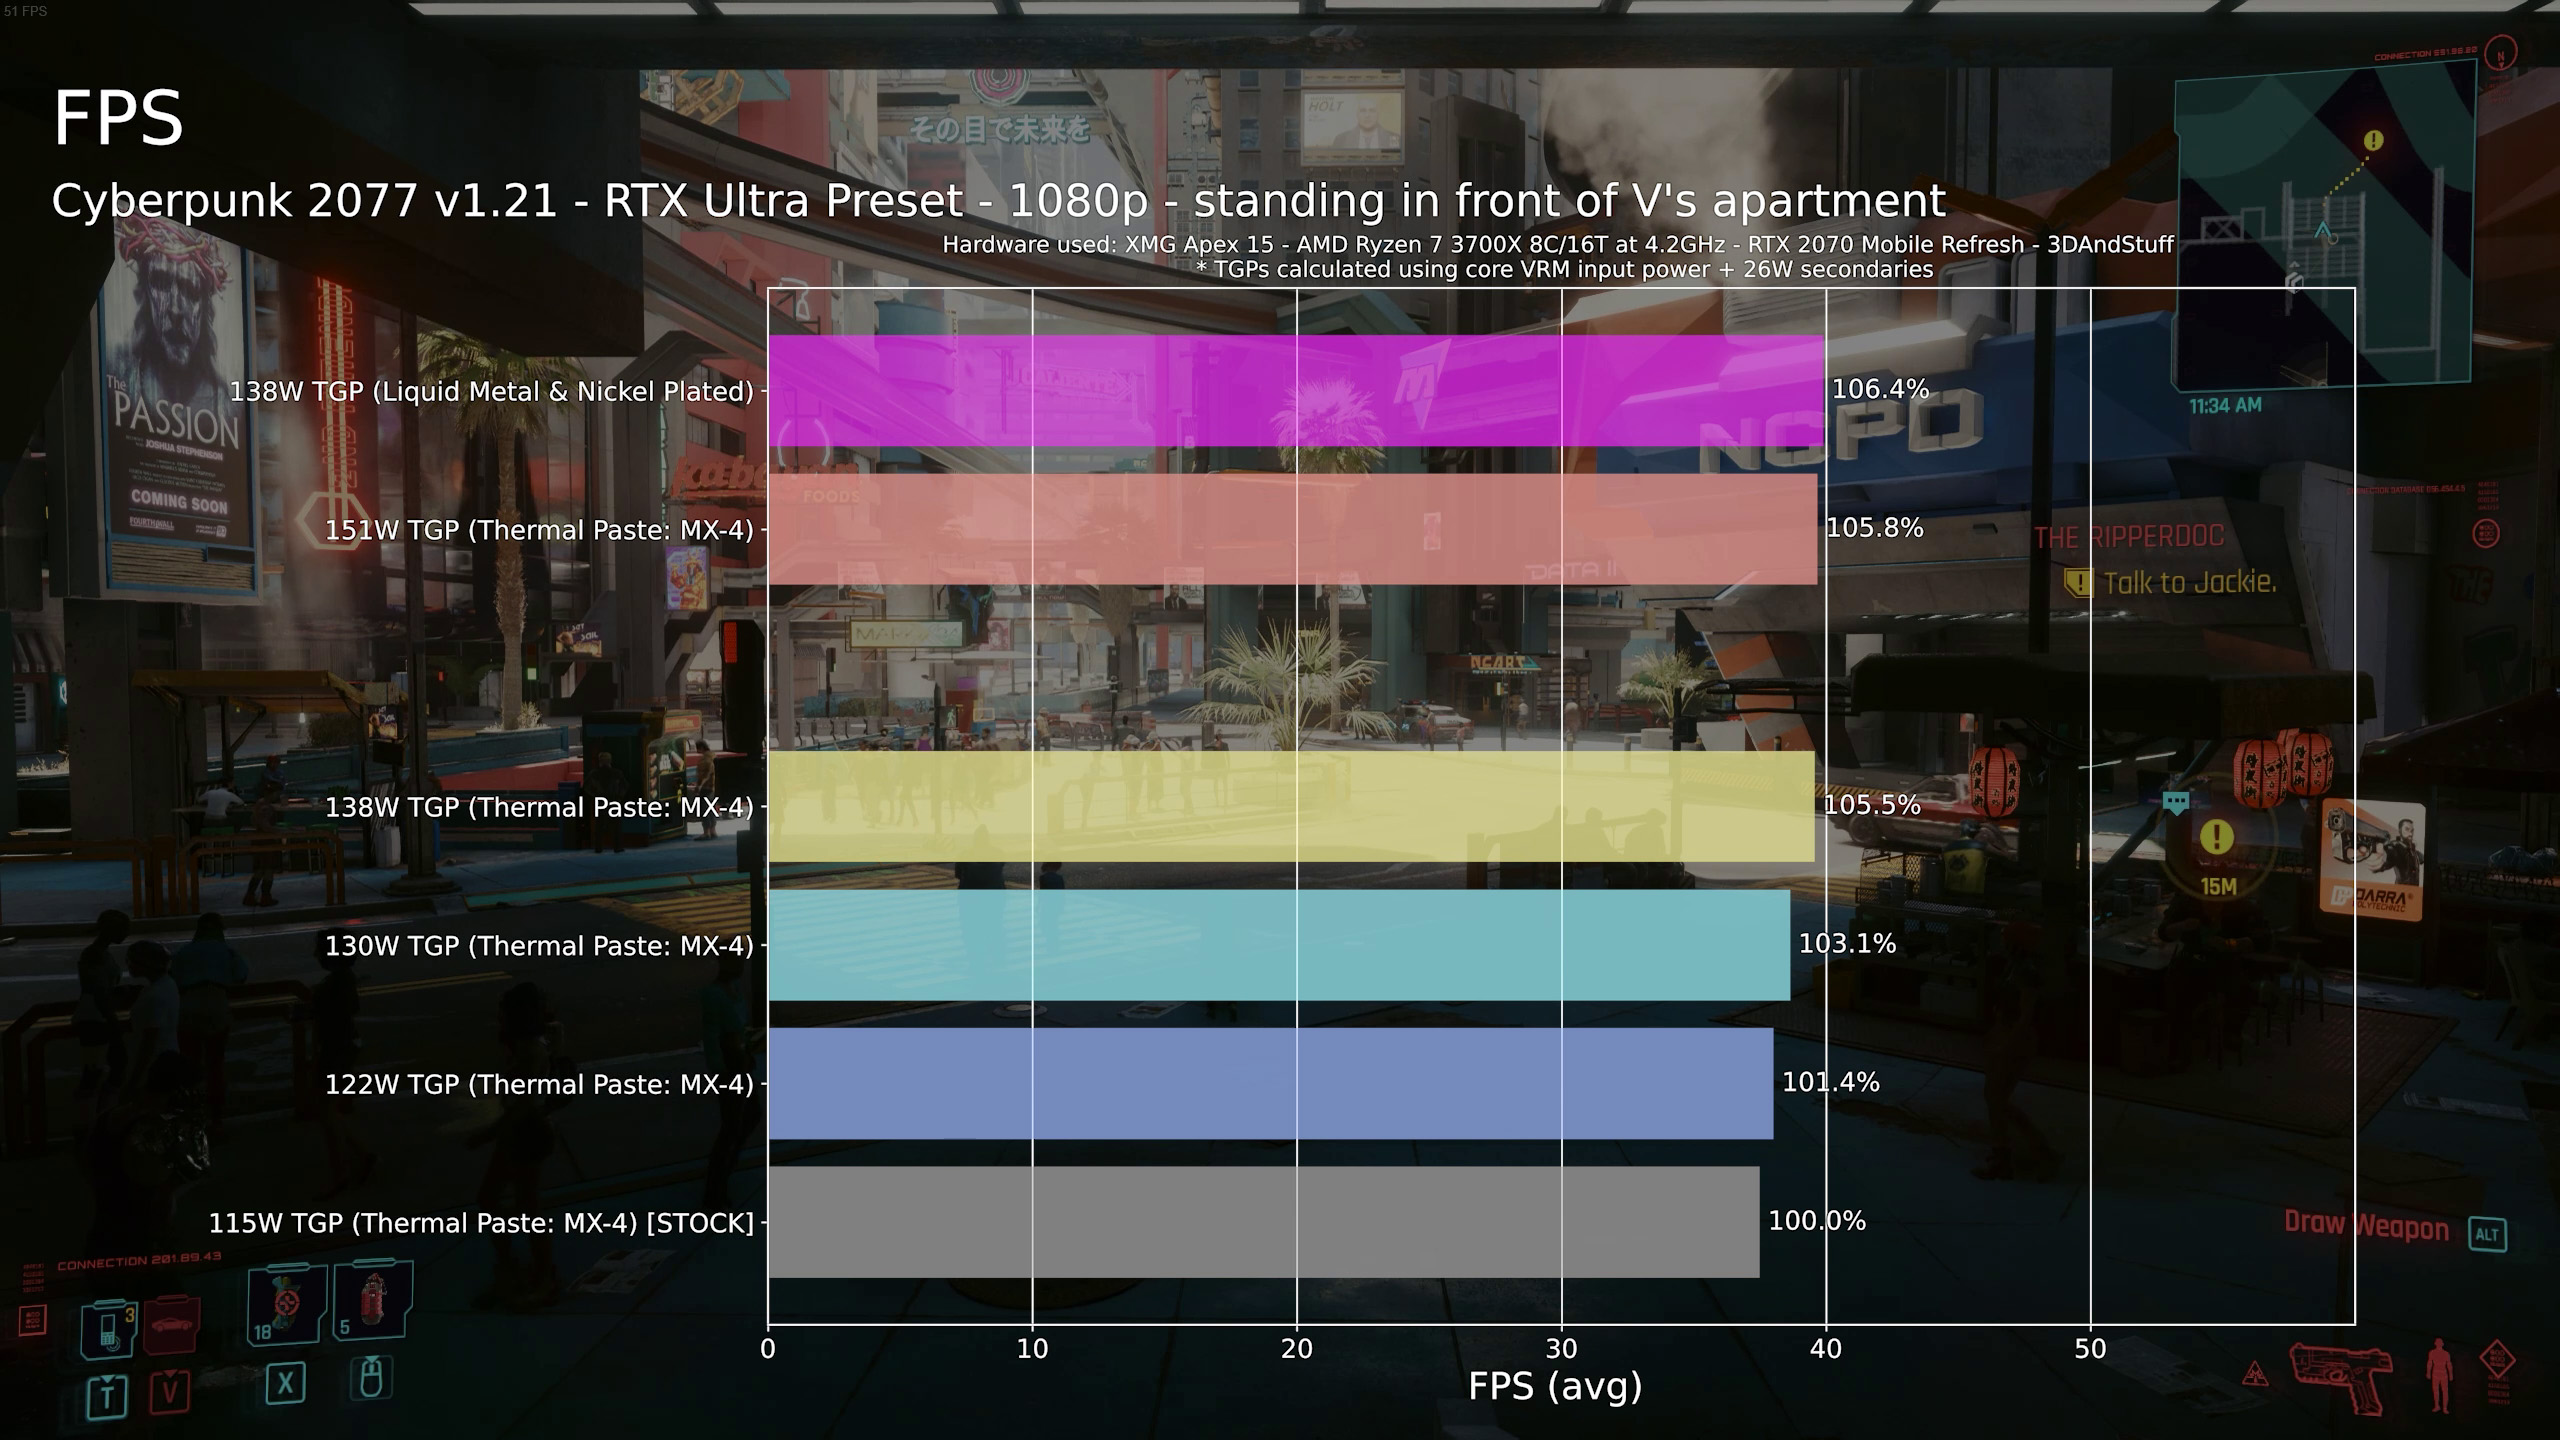
This data from Cyberpunk 2077 shows an even higher difference .. [pause] which becomes also visible in the average FPS.
All in all the shunt mod for nearly 140W TGP combined with the nickel plating and Liquid Metal should provide roughly the same temperature and noise levels as the stock laptop does, but at a higher performance level. The performance increased by 4% in TimeSpy and 6% in Cyberpunk 2077.
Well to be honest: This little improvment is definitely not worth the work all the modding steps require. But it was also a lot of fun.
Oh and if you might ask if these mods are even stable for daily use then i can happily report that they are. I am using this machine with all the shown mods since 6 months now. I transport it to work and back home daily and game on it in the evening for at least 2 hours straight. No instabilities so far and the temperatures and performance is still great.
That’s it for this video and if you may or may not want to see more modding content consider subscribing to my channel.
Maybe there is some more to discover. Let’s see.
Thank’s for watching and see you in the next one. Bye!
The CPU temperatures show a big improvement too, although the liquid metal is applied to the IHS instead of the CPU die directly.
It’s a bit hard to judge how much influence the leveling with the glass body and sand paper at the CPU contact area got. The liquid metal alone should make up the majority of the improvements though.

